Custom Embossing
Available on – Boutique Books
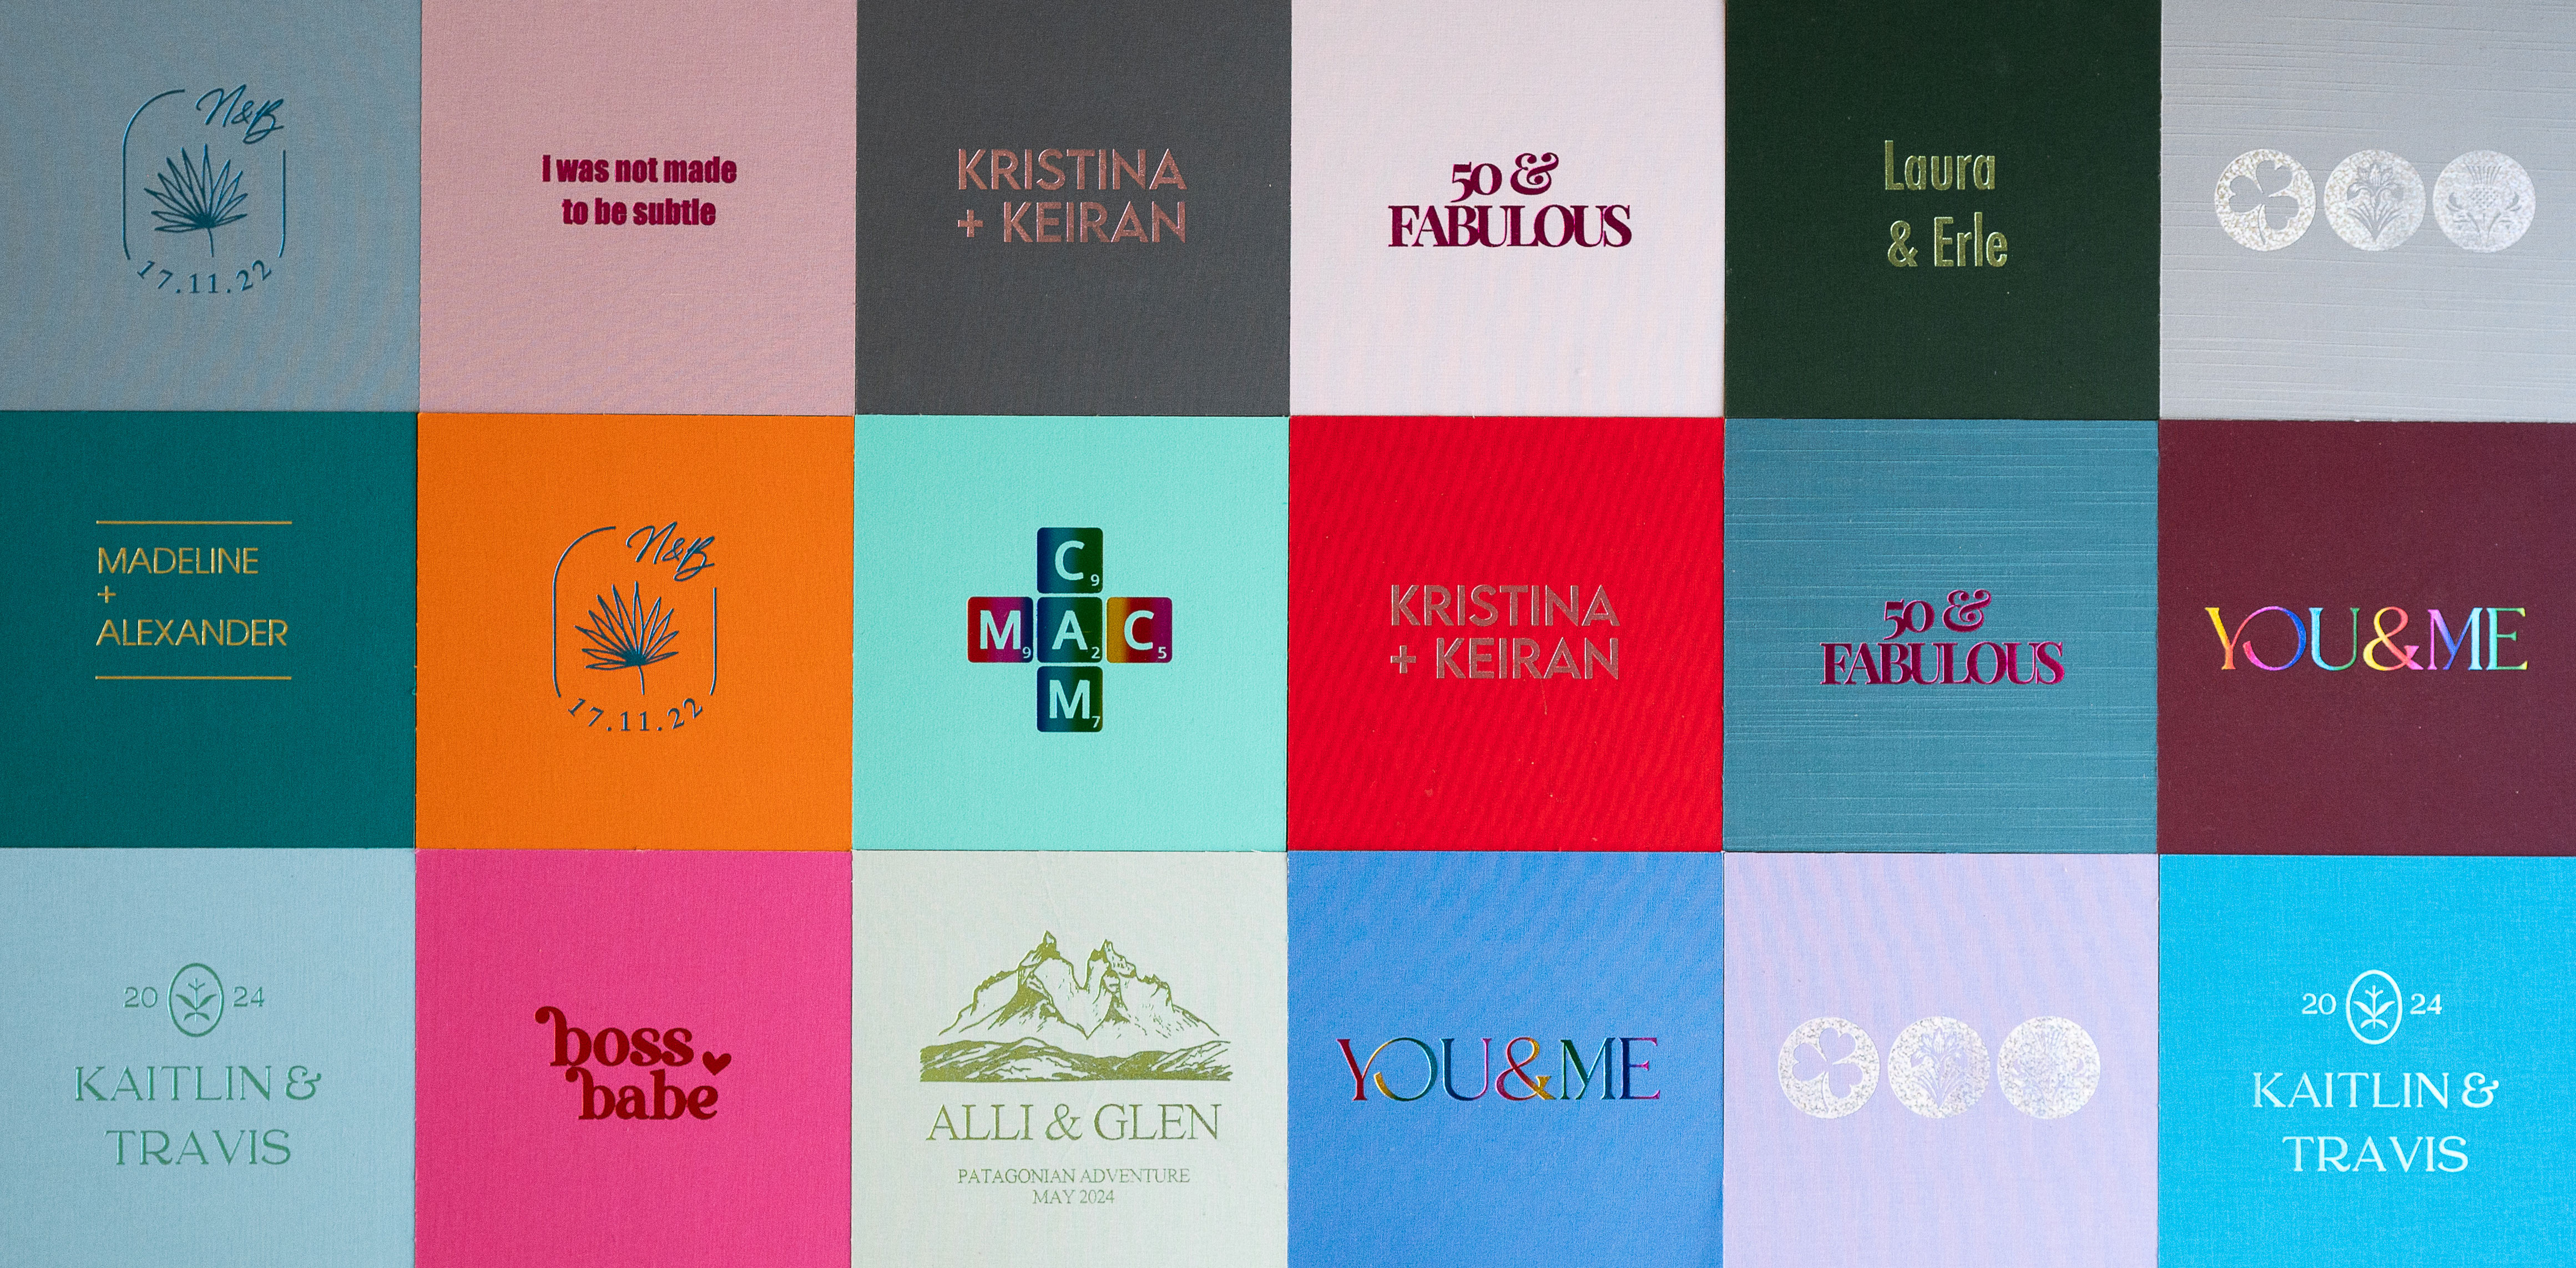
Our Custom Embossing option allows you to personalise each and every client album by creating individual artworks featuring fonts, monograms or motifs of your own design and choice. Custom Embossing is available in multiple sizes as listed below.
4 x 2" $65 AUD
4 x 4” $85 AUD
6 x 2” $85 AUD
6 x 4” $100 AUD
6 x 6” $125 AUD
8 x 3” $125 AUD
The following sizes have been created to use for embossing the album spine.
11 x 1” $100 AUD (To be used on an album with a minimum of 15 double page spreads)
11 x 2” $125 AUD (To be used on an album with a minimum of 30 double page spreads)
You have the option of adding 1 or 2 custom embossings per album cover. When you order 1 custom embossing you can select the embossing position when you place the order online. If you are ordering 2 custom embossings you will need to use one of our Album Cover Templates to create an album cover showing the placement of the 2 embossings. Please see our notes below - TEMPLATE SET UP FOR 2 EMBOSSINGS.
DESIGN TIPS
To avoid delays it's important to send us production ready artwork. Please make sure to read Design Tips and File Specifications below. Further down the page we explain in details how to set up your custom embossing using Photoshop or Canva.
Keep it simple! Embossing is a different process to printing and therefore complex, intricate designs will not emboss well. It’s a good idea to print out the design at the finished size so you can see if it is too detailed for embossing.
Letter height – Your letters should be a minimum of 5mm in height to make sure they can be read easily. Velvet and Macrosuede materials can only be blind embossed (no foil) and we recommend you use solid, bold fonts on these materials.
Double check your artwork - Please make sure to double check your artwork especially any names and dates. We cannot be repsonsible for errors in the artwork you supply.
Trouble-shooting – If your design doesn’t seem suitable for embossing, is not created correctly using one of our templates, or does not match our file specifications your order will be placed on hold until we can get the correct artwork. We may be able to help do this for you but extra charges will apply.
FILE SPECIFICATIONS
You will need to send us a 300 dpi JPEG file sized correctly as per our File Set Up instructions below.
FILE SET UP USING PHOTOSHOP
STEP 1 - Download our Custom Embossing Photoshop templates and open the template you intend to use. When you open the template it will be a blank document, and if you turn on your Guides you will see 4 blue guidelines around the edge of the document. To turn on the guides go to View 〉 Show 〉 Guides. These guides are set at 5mm on each edge and we ask that you don't have your design go over these guides..
DOWNLOAD OUR CUSTOM EMBOSSING TEMPLATES HERE

STEP 2 - Create your design, ensuring every element in the design is 100% solid black - we cannot accept colour files. You can fill the entire template (apart from outside the guidelines) or you can use only part of the space. Please remember to keep our design tips in mind and ensure the design is not too intricate and the text is a minimum of 5mm high.

STEP 3 - Once your design is complete save it as a JPEG file (do not export it). To save your file go to File 〉 Save - then when box (as shown below) appears below make sure to change the file type to JPEG. When you place your order online there will be an area for you to upload the custom embossing jpeg once your order is placed in the shopping cart.

FILE SET UP USING CANVA
We have found Canva is becoming very popular for photographers to use when creating Custom Embossings - and this is definately ok - as long as you follow the file set up guide below to ensure your file is created correctly!
STEP 1 - Open Canva, then click on Create A Design (in the top right corner). When the pop up window appears click on Custom Size at the bottom of the window.

STEP 2 - Enter the size of the Custom Embossing. For example if you want to use the 6x2" size - then set it up as 6x2" - then click on Create New Design.
STEP 3 - Create your design, ensuring every element in the design is 100% solid black. You don't have to fill the entire area with your design but keep in mind our design tips and ensure the motif/design is not too intricate and the fonts a minimum of 5mm high. Also please leave blank space around the edge of the document (approx 5mm) for bleed.
STEP 4 - Once complete click on Share in the top right hand corner, then scroll down and click on Download. Select PDF Print for the file type, then click Download.

STEP 5 - Open the PDF in Photoshop and accept the import options. The size should be the size of custom embossing you set up in Canva and the resolution should be 300 DPI. 
STEP 6 - In Photoshop double check the size of the font height (remember we need 5mm minimum) and that the design is not too intricate. Once you are happy with your design you are ready to save it. To save your file click on FILE 〉 SAVE AS 〉 and make sure to change the file type to JPEG (as shown in the image below). When you place your order online there will be an area for you to upload the custom embossing jpeg once your order is placed in the shopping cart.

TEMPLATE SET UP FOR 2 EMBOSSINGS
When you are ordering 2 Custom Embossings on an album cover you must first create the artwork to our specifications as listed above. You will then need to create an album cover file showing us the position on the embossings on the album cover. (If you are only ordering 1 embossing per album then a dropdown menu appears when you place your order online and you can select the position).
STEP 1 - Create your 2 individual custom embossings as per our instructions above. Once this is complete and you have saved these as JPEG files you are ready to set up your album cover file.
STEP 2 - Download the Album Cover Template that matches the album you are ordering. For example - if you are ordering a 12x12" Boutique Book (Matte) with 15 double page spreads you will need to download the 12x12" Album Cover Template Matt 11 to 20 spreads template. To locate the template, go to the webpage of the album you are going to order, then click on the TEMPLATES tab below the main photograph (as shown in image below) and download the required template. Or you can download all our Album Cover Templates here and select the one you need.

STEP 3 - Open the Album Cover Template in Photoshop. You will see the album cover with guidelines clearly showing the front and back cover as well as the spine. In the Layers window on the right hand side delete (or hide) the layer that is named DELETE THIS LAYER. 
STEP 4 - Open the folder on your computer containing the 2 custom embossing jpeg files you have created and drag the files onto your Album Cover Template. Position the embossings in the locations you would like them embossed. This template will now give you a good idea of the size of your custom embossing on the album. You may find that the embossing is too small so you will need to redo you custom embossing templates and try again. Once you are happy with the layout save this file as a jpeg and upload it with your album order. You will need to upload 3 files with your order - the 2 custom embossing files plus this Album Cover file.

EMBOSSING FOILS
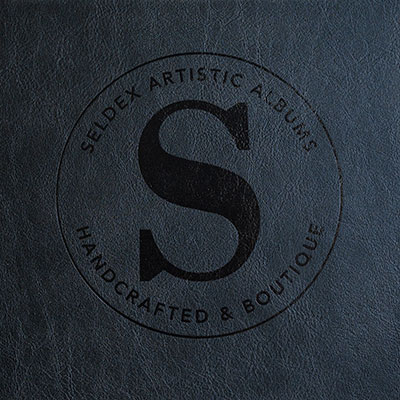
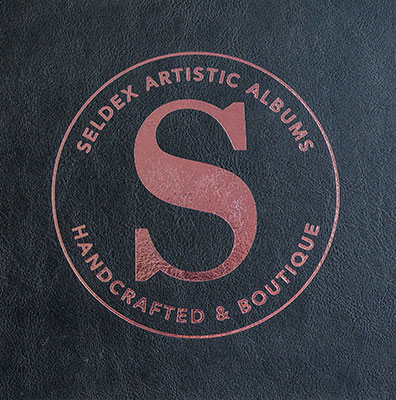
You can emboss your album cover, or many of our other products, in the following foil colours – Gold, Rose Gold, Silver, Copper, Light Blue, Light Green, Dusty Pink, Hot Pink, Red, Rainbow, Silver Hologram, Electric Blue, Turquoise, Gunmetal, Black and White.
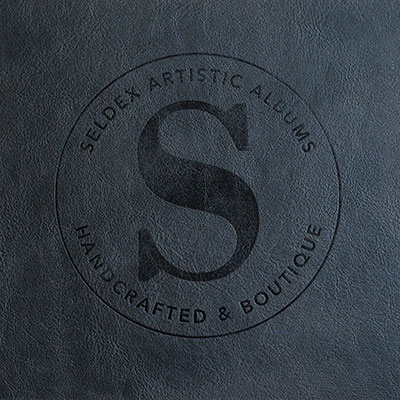
We also offer Blind embossing where no foil is used, and you will see the indentation of the embossing only. Blind embossing works best on Premium and Classic Leathers as the material is thick, yet soft, so the embossing die can make a good impression into the leather.
VELVET - You can only emboss on Velvet material with Gold, Rose Gold, Silver, Red and Black foils, or blind embossing. Please note that the foil embossing on Velvet is more delicate and should be handled with care. Please do not rub your hands over the foil or the foil could flake.
Make sure to order a set of Foil Swatches so you can easily see what the different foils will look like on different materials.
-
BLACK
-
BLIND
-

COPPER
-
DUSTY PINK
-
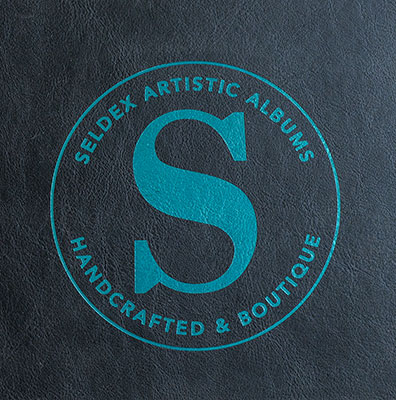
ELECTRIC BLUE
-
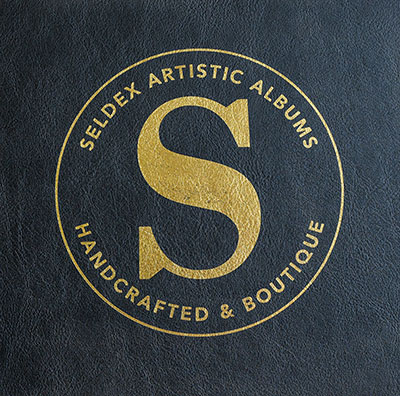
GOLD
-
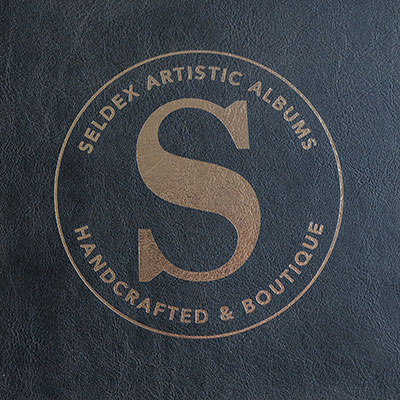
GUNMETAL
-
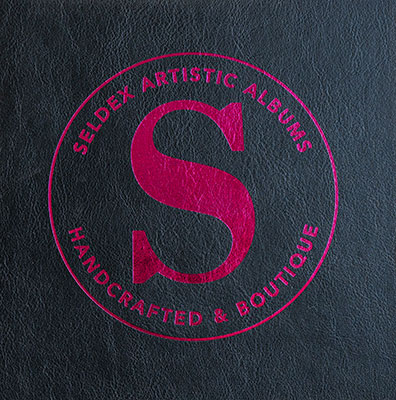
HOT PINK
-
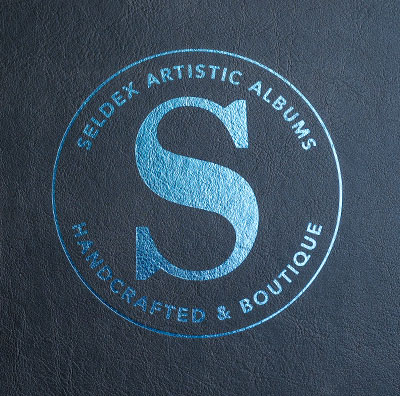
LIGHT BLUE
-
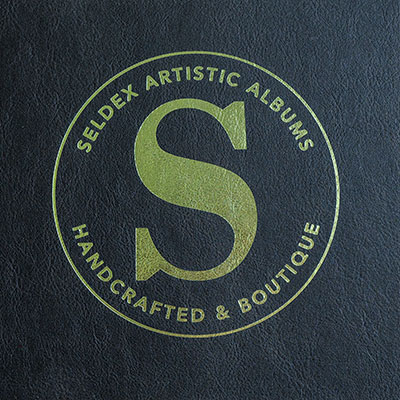
LIGHT GREEN
-
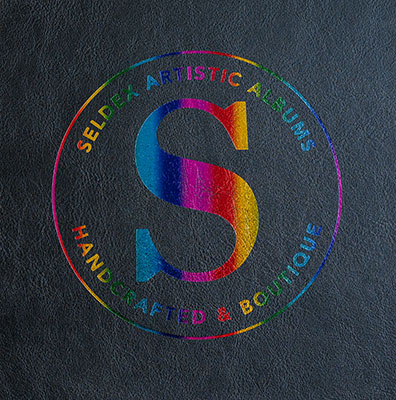
RAINBOW
-
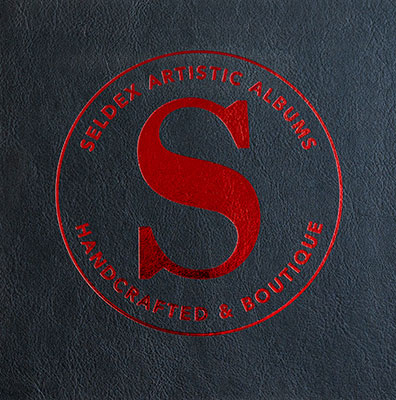
RED
-

ROSE GOLD
-
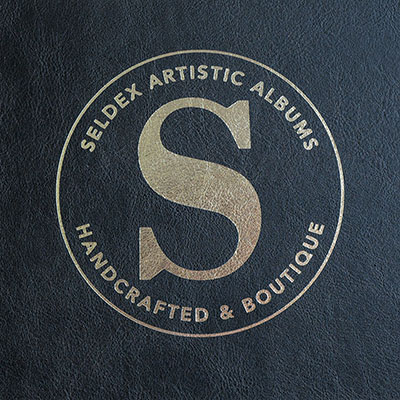
SILVER
-

SILVER HOLOGRAM
-
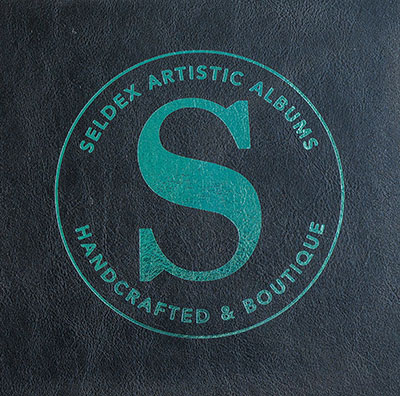
TURQUOISE
-
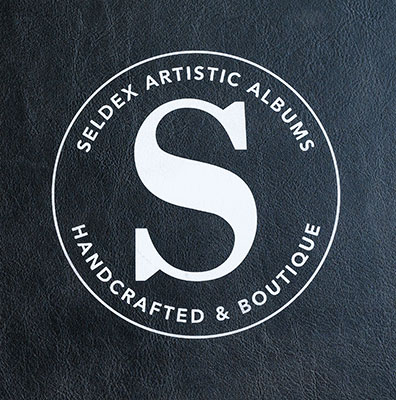
WHITE
EMBOSSING RULES
For practical reasons not all foils work well on every material. Please see the table below for our details rules and recommendations. NR = not recommended
GOLD | SILVER | ROSE GOLD | BLACK | WHITE | COPPER | HOT PINK | DUSTY PINK | |
| PREMIUM LEATHER | Y | Y | Y | Y | Y | Y | Y | Y |
| CLASSIC LEATHER | Y | Y | Y | Y | Y | Y | Y | Y |
| VELVET | Y | Y | Y | Y | N | N | N | N |
| MACROSUEDE | N | N | N | N | N | N | N | N |
| ASAHI | Y | Y | Y | Y | Y | Y | Y | Y |
| LINEN | Y | Y | Y | Y | Y | Y | Y | Y |
| LINEN *** | Y | Y | Y | Y | NR | Y | Y | Y |
| LEATHERETTE | Y | Y | Y | Y | Y | Y | Y | Y |
| BUCKRAM | Y | Y | Y | Y | Y | Y | Y | Y |
| LGT BLUE | ELEC BLUE | LGT GREEN | RAINBOW | RED | HOLOGRAM | GUNMETAL | TURQUOISE | |
| PREMIUM LEATHER | Y | Y | Y | Y | Y | Y | Y | Y |
| CLASSIC LEATHER | Y | Y | Y | Y | Y | Y | Y | Y |
| VELVET | N | N | N | N | Y | N | N | N |
| MACROSUEDE | N | N | N | N | N | N | N | N |
| ASAHI | Y | Y | Y | Y | Y | Y | Y | Y |
| LINEN | Y | Y | Y | Y | Y | Y | Y | Y |
| LINEN *** | Y | Y | Y | Y | Y | Y | Y | Y |
| LEATHERETTE | Y | Y | Y | Y | Y | Y | Y | Y |
| BUCKRAM | Y | Y | Y | Y | Y | Y | Y | Y |
LINEN *** Our Linen range includes Linens with a small, tight weave and also Linens with larger, coarse weave which do not emboss well. The Linens that do not emboss well include Natural Blend & Oatmeal.


