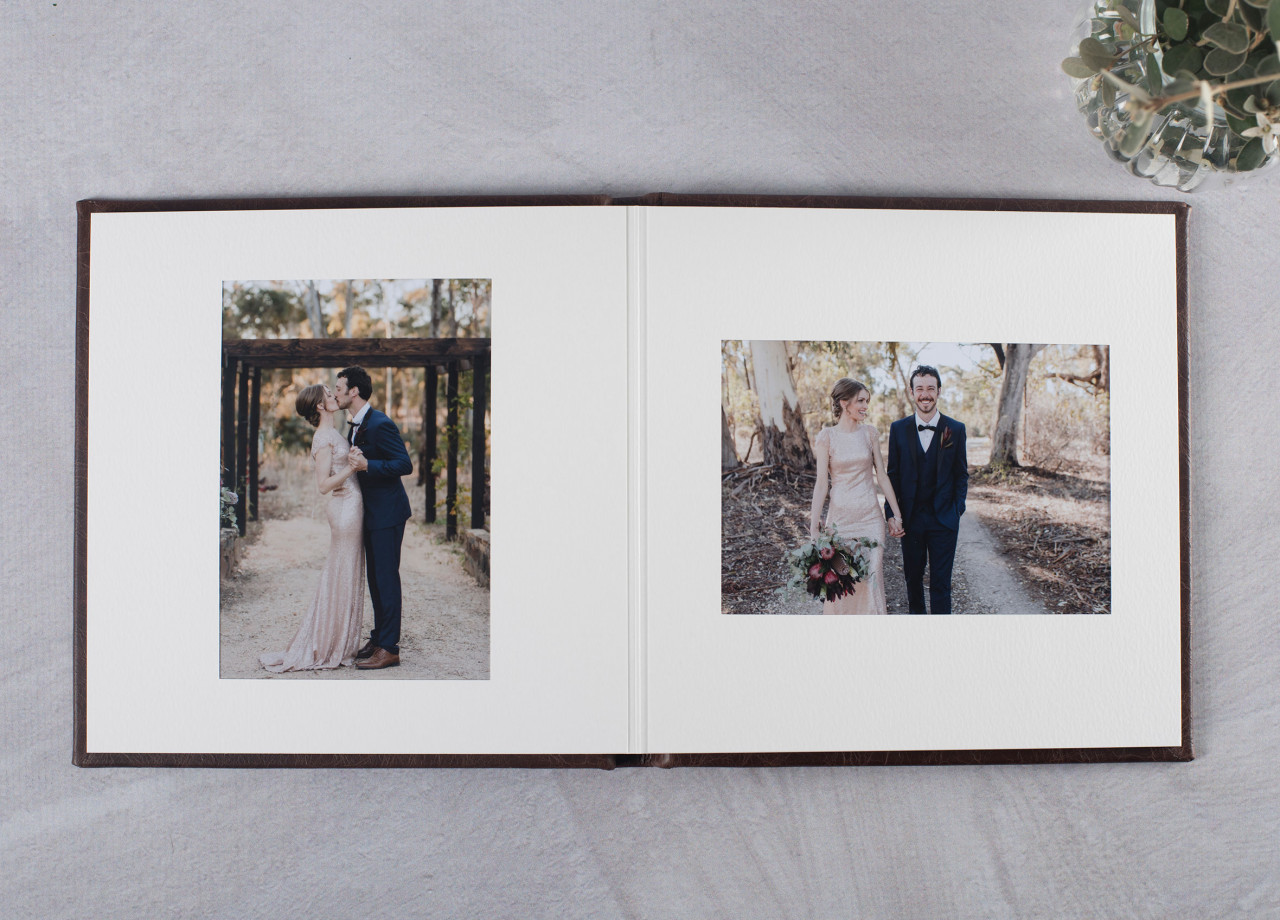
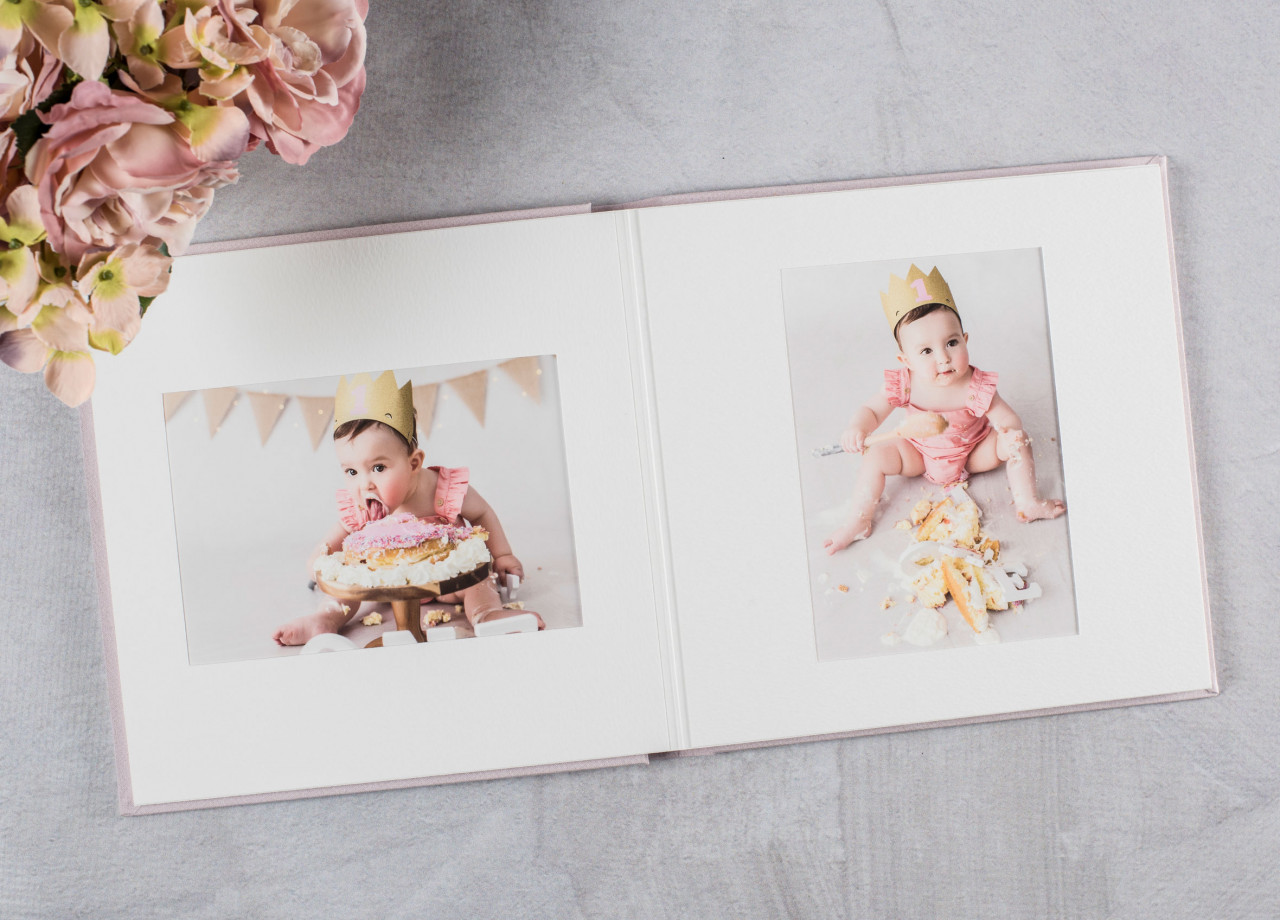
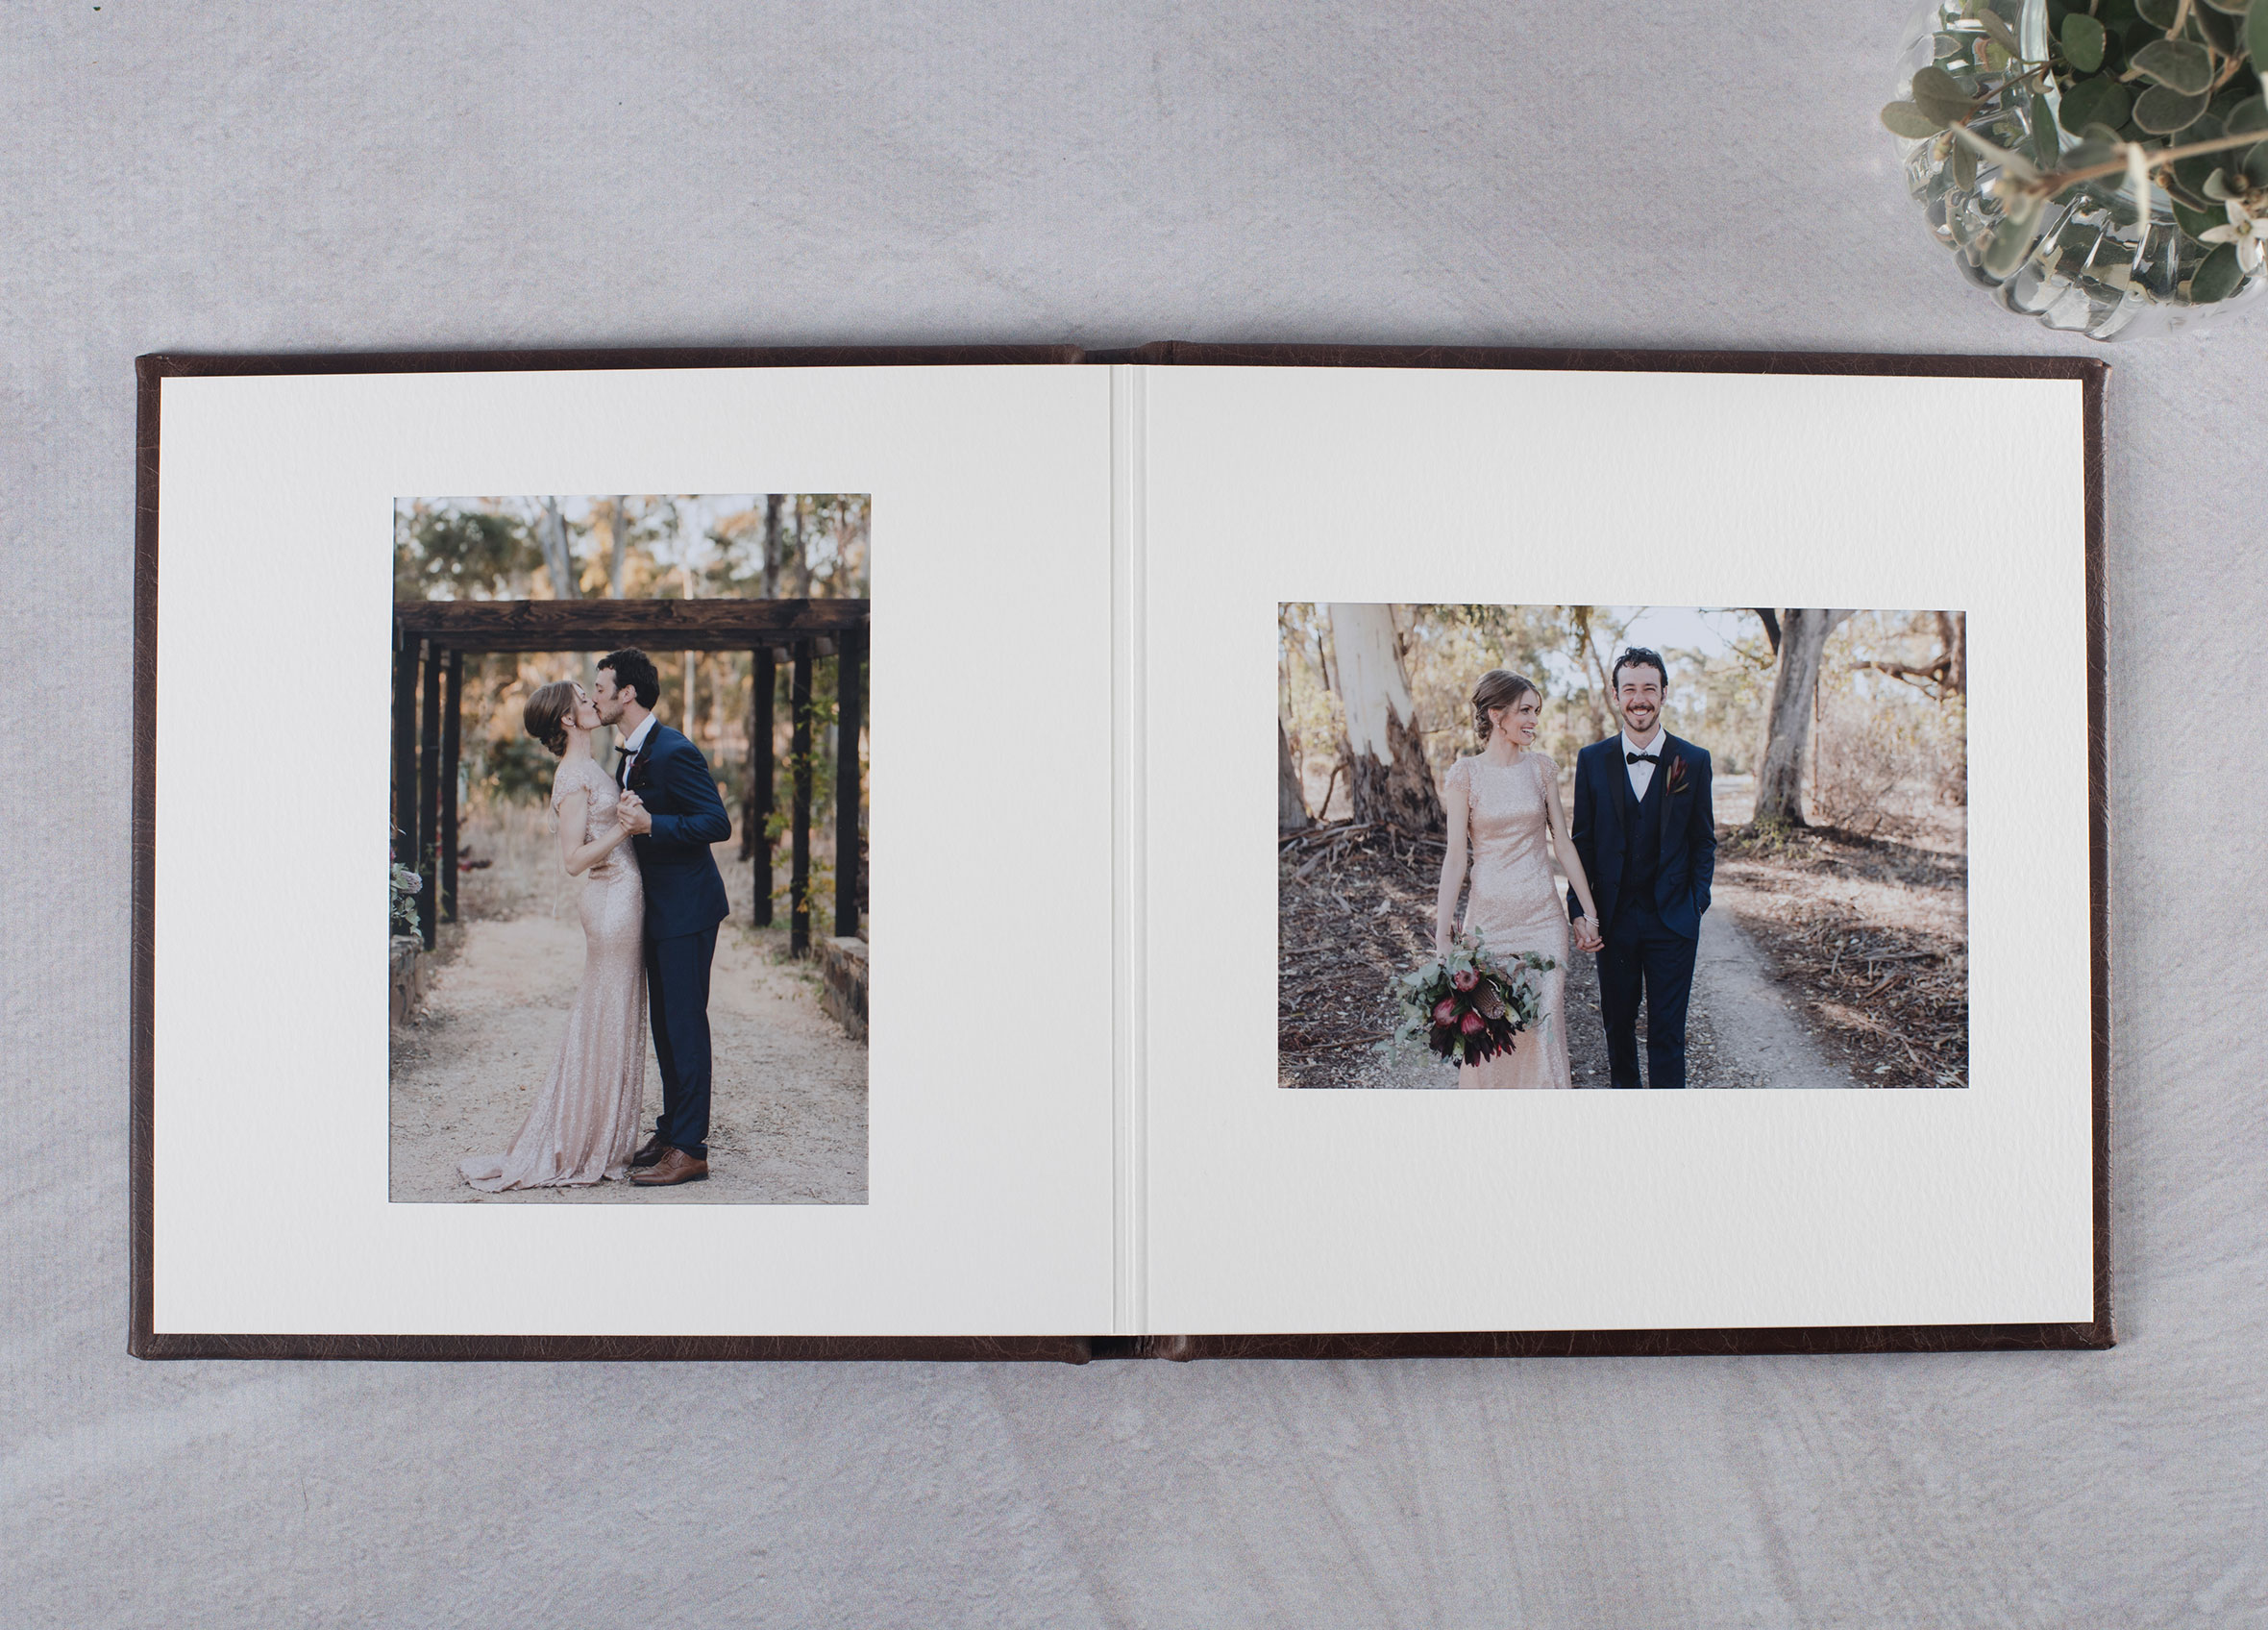
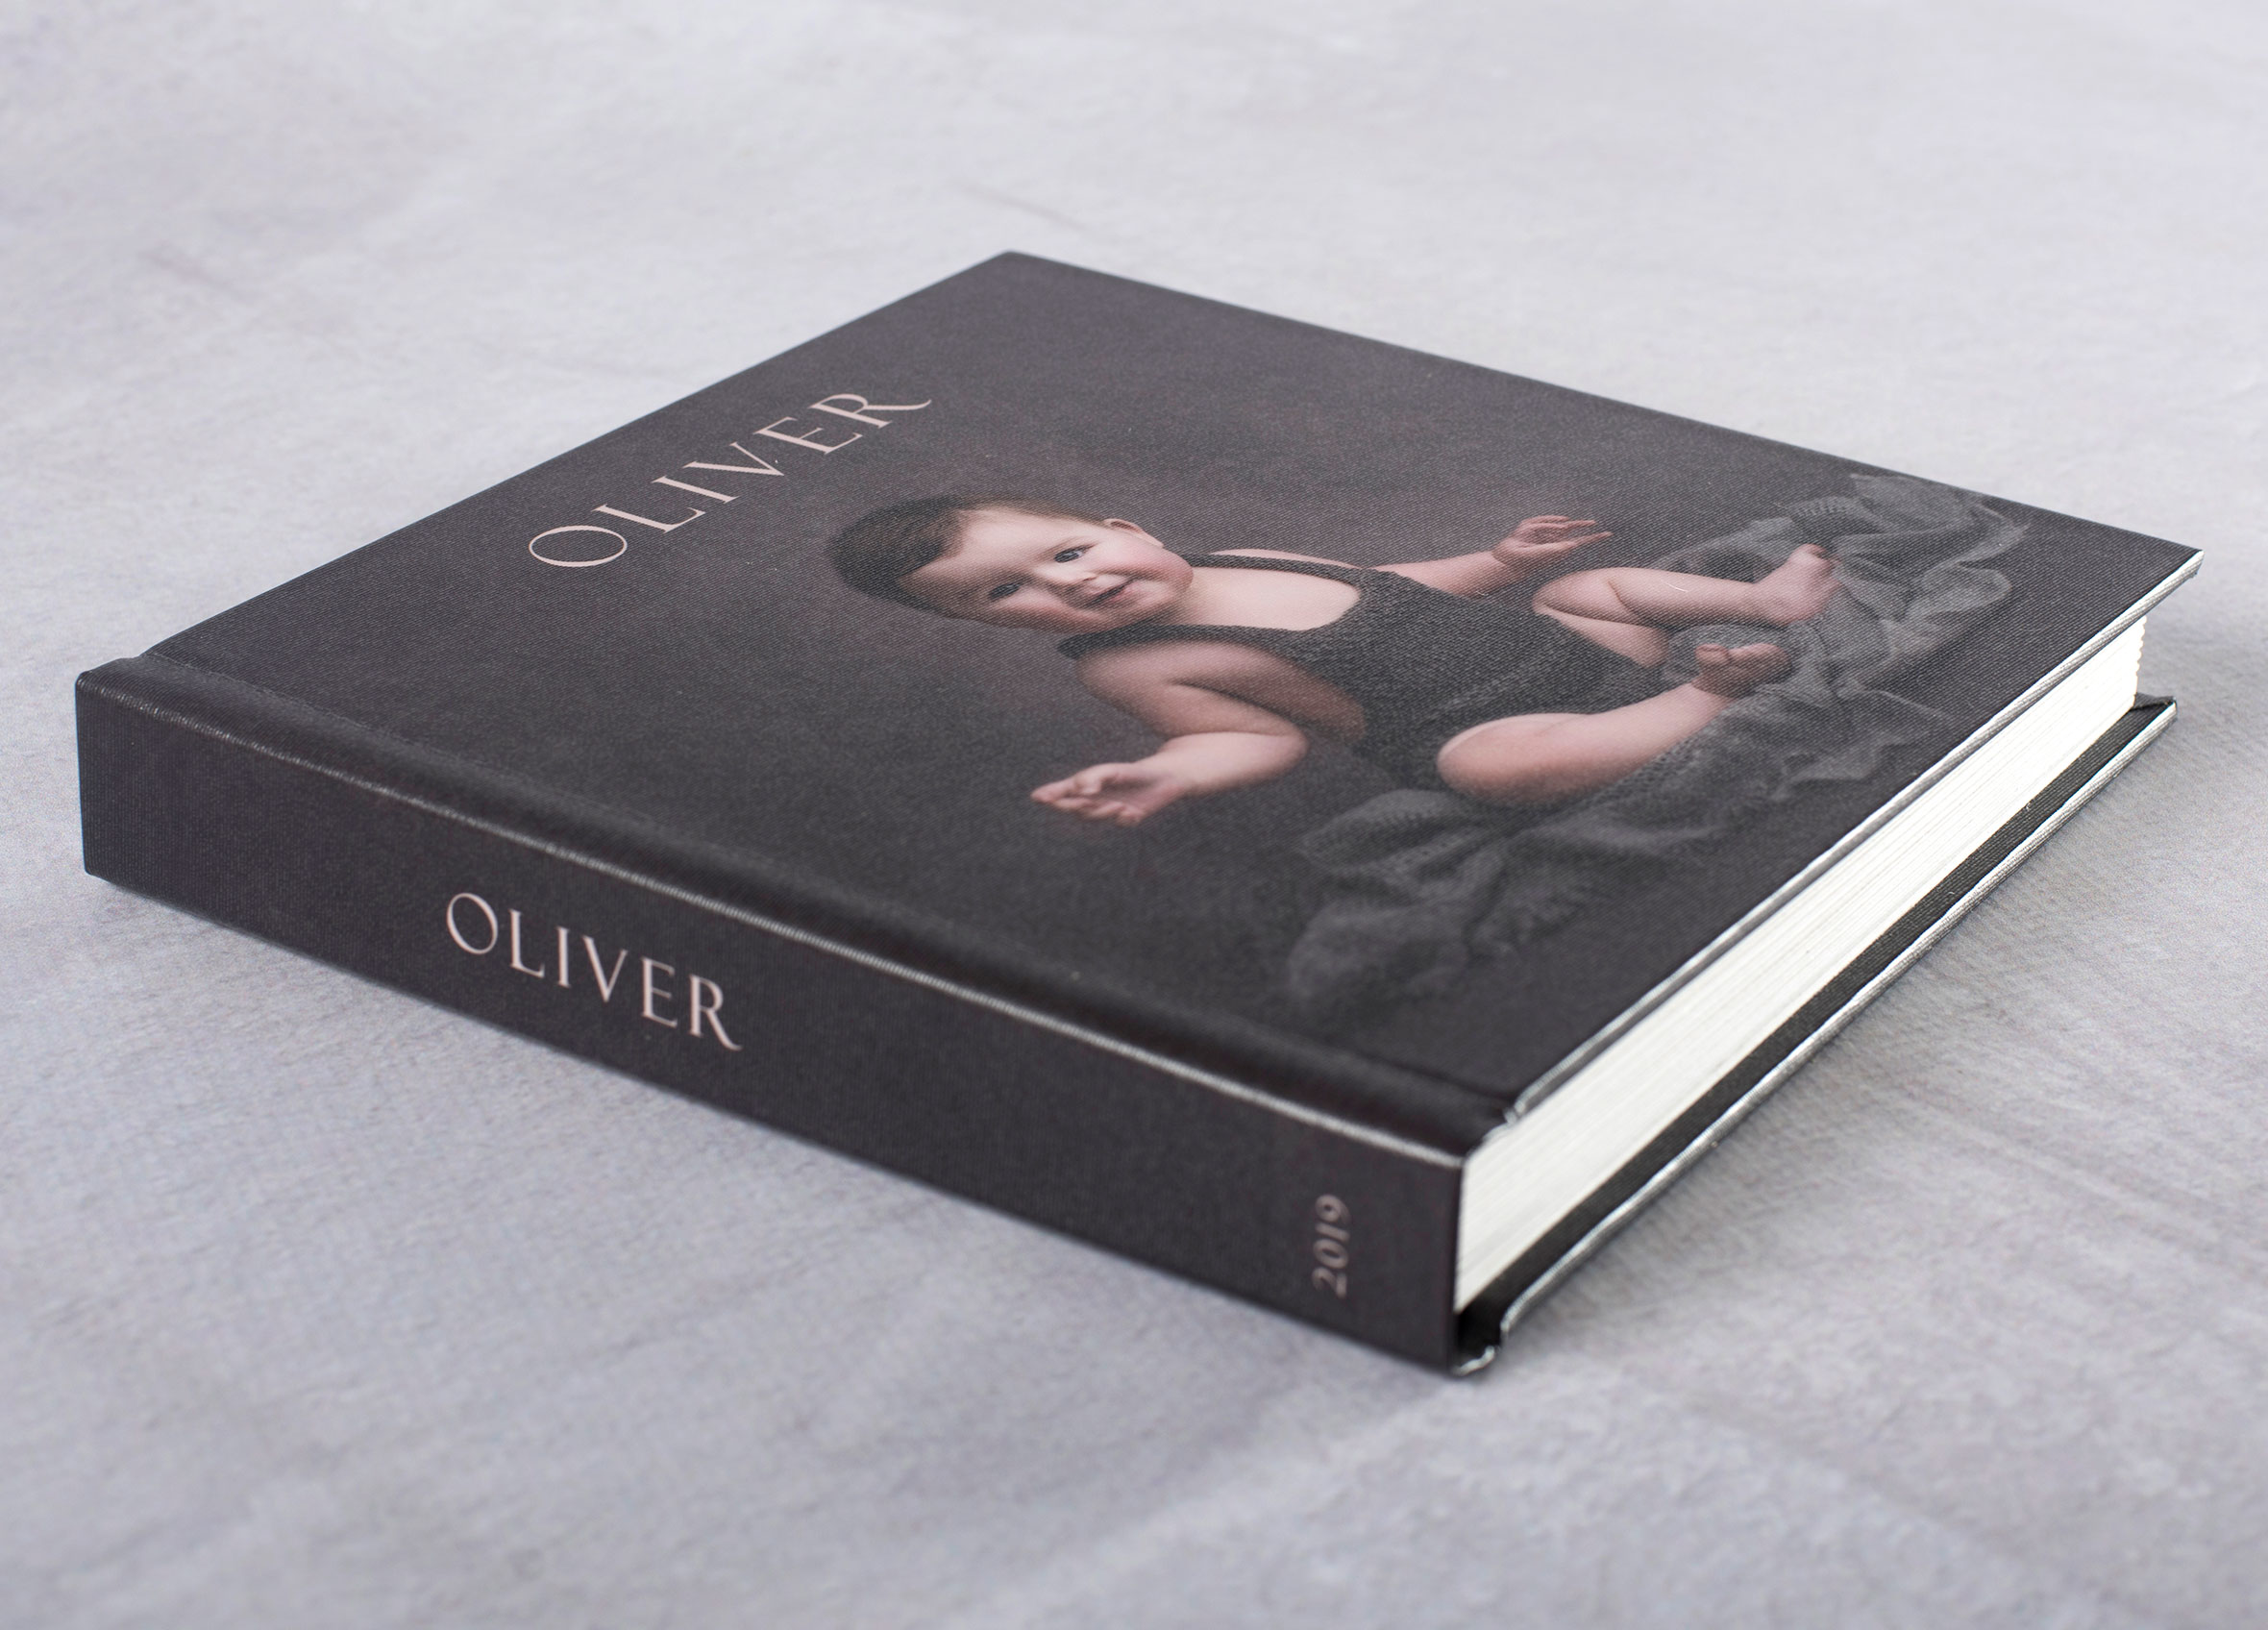
Gallery Album: 12" ALBUM


- About
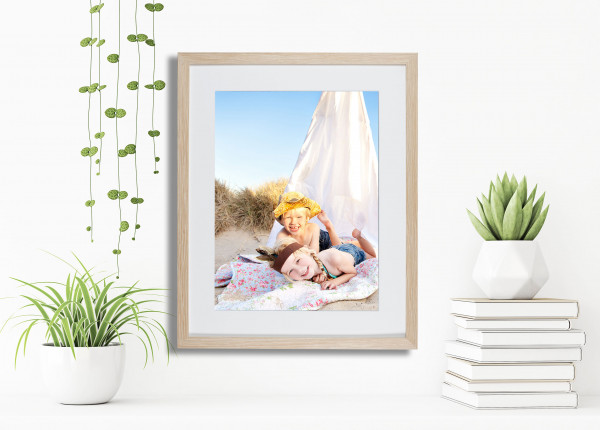
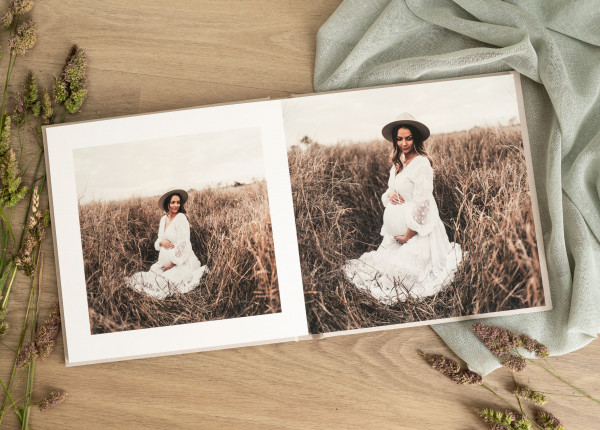
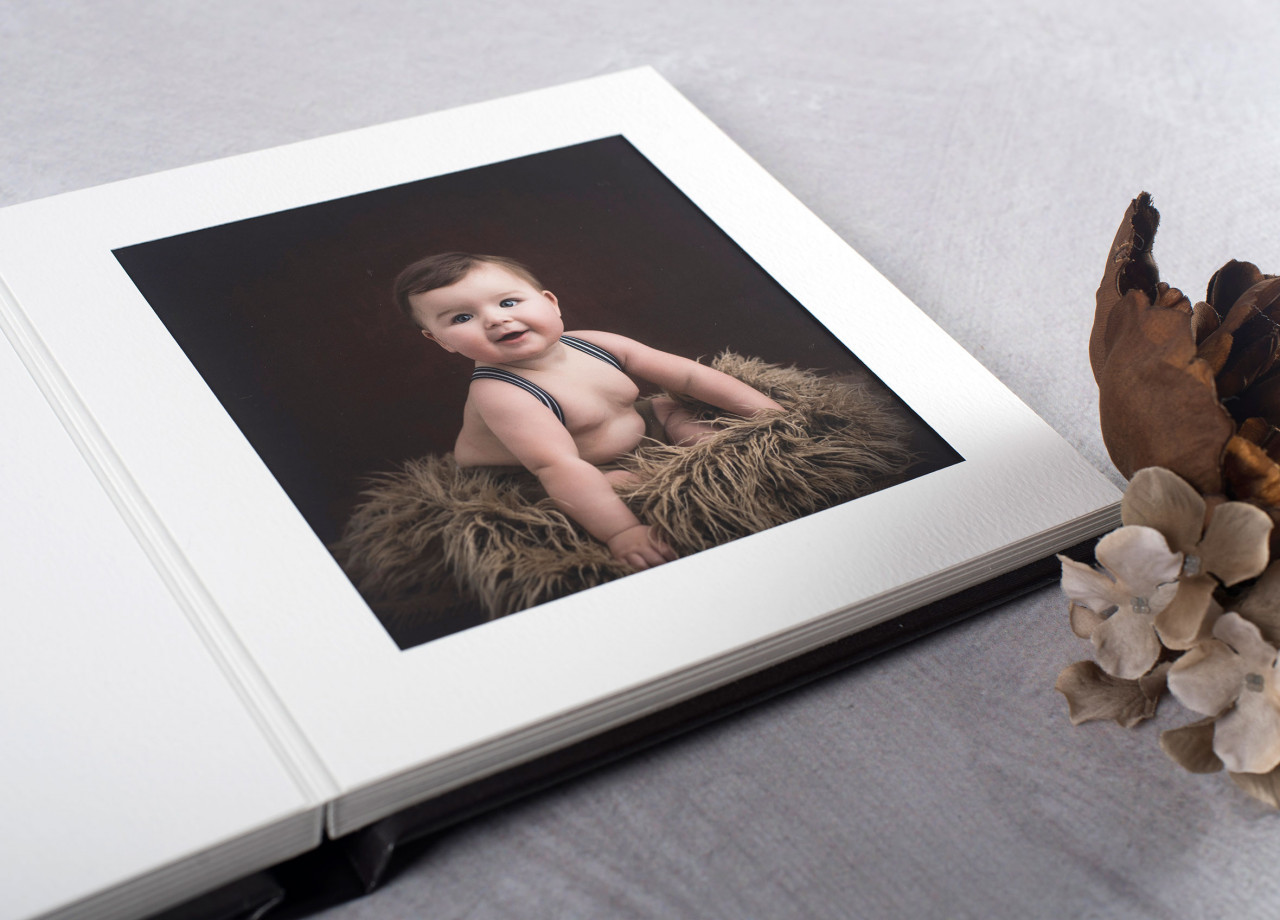
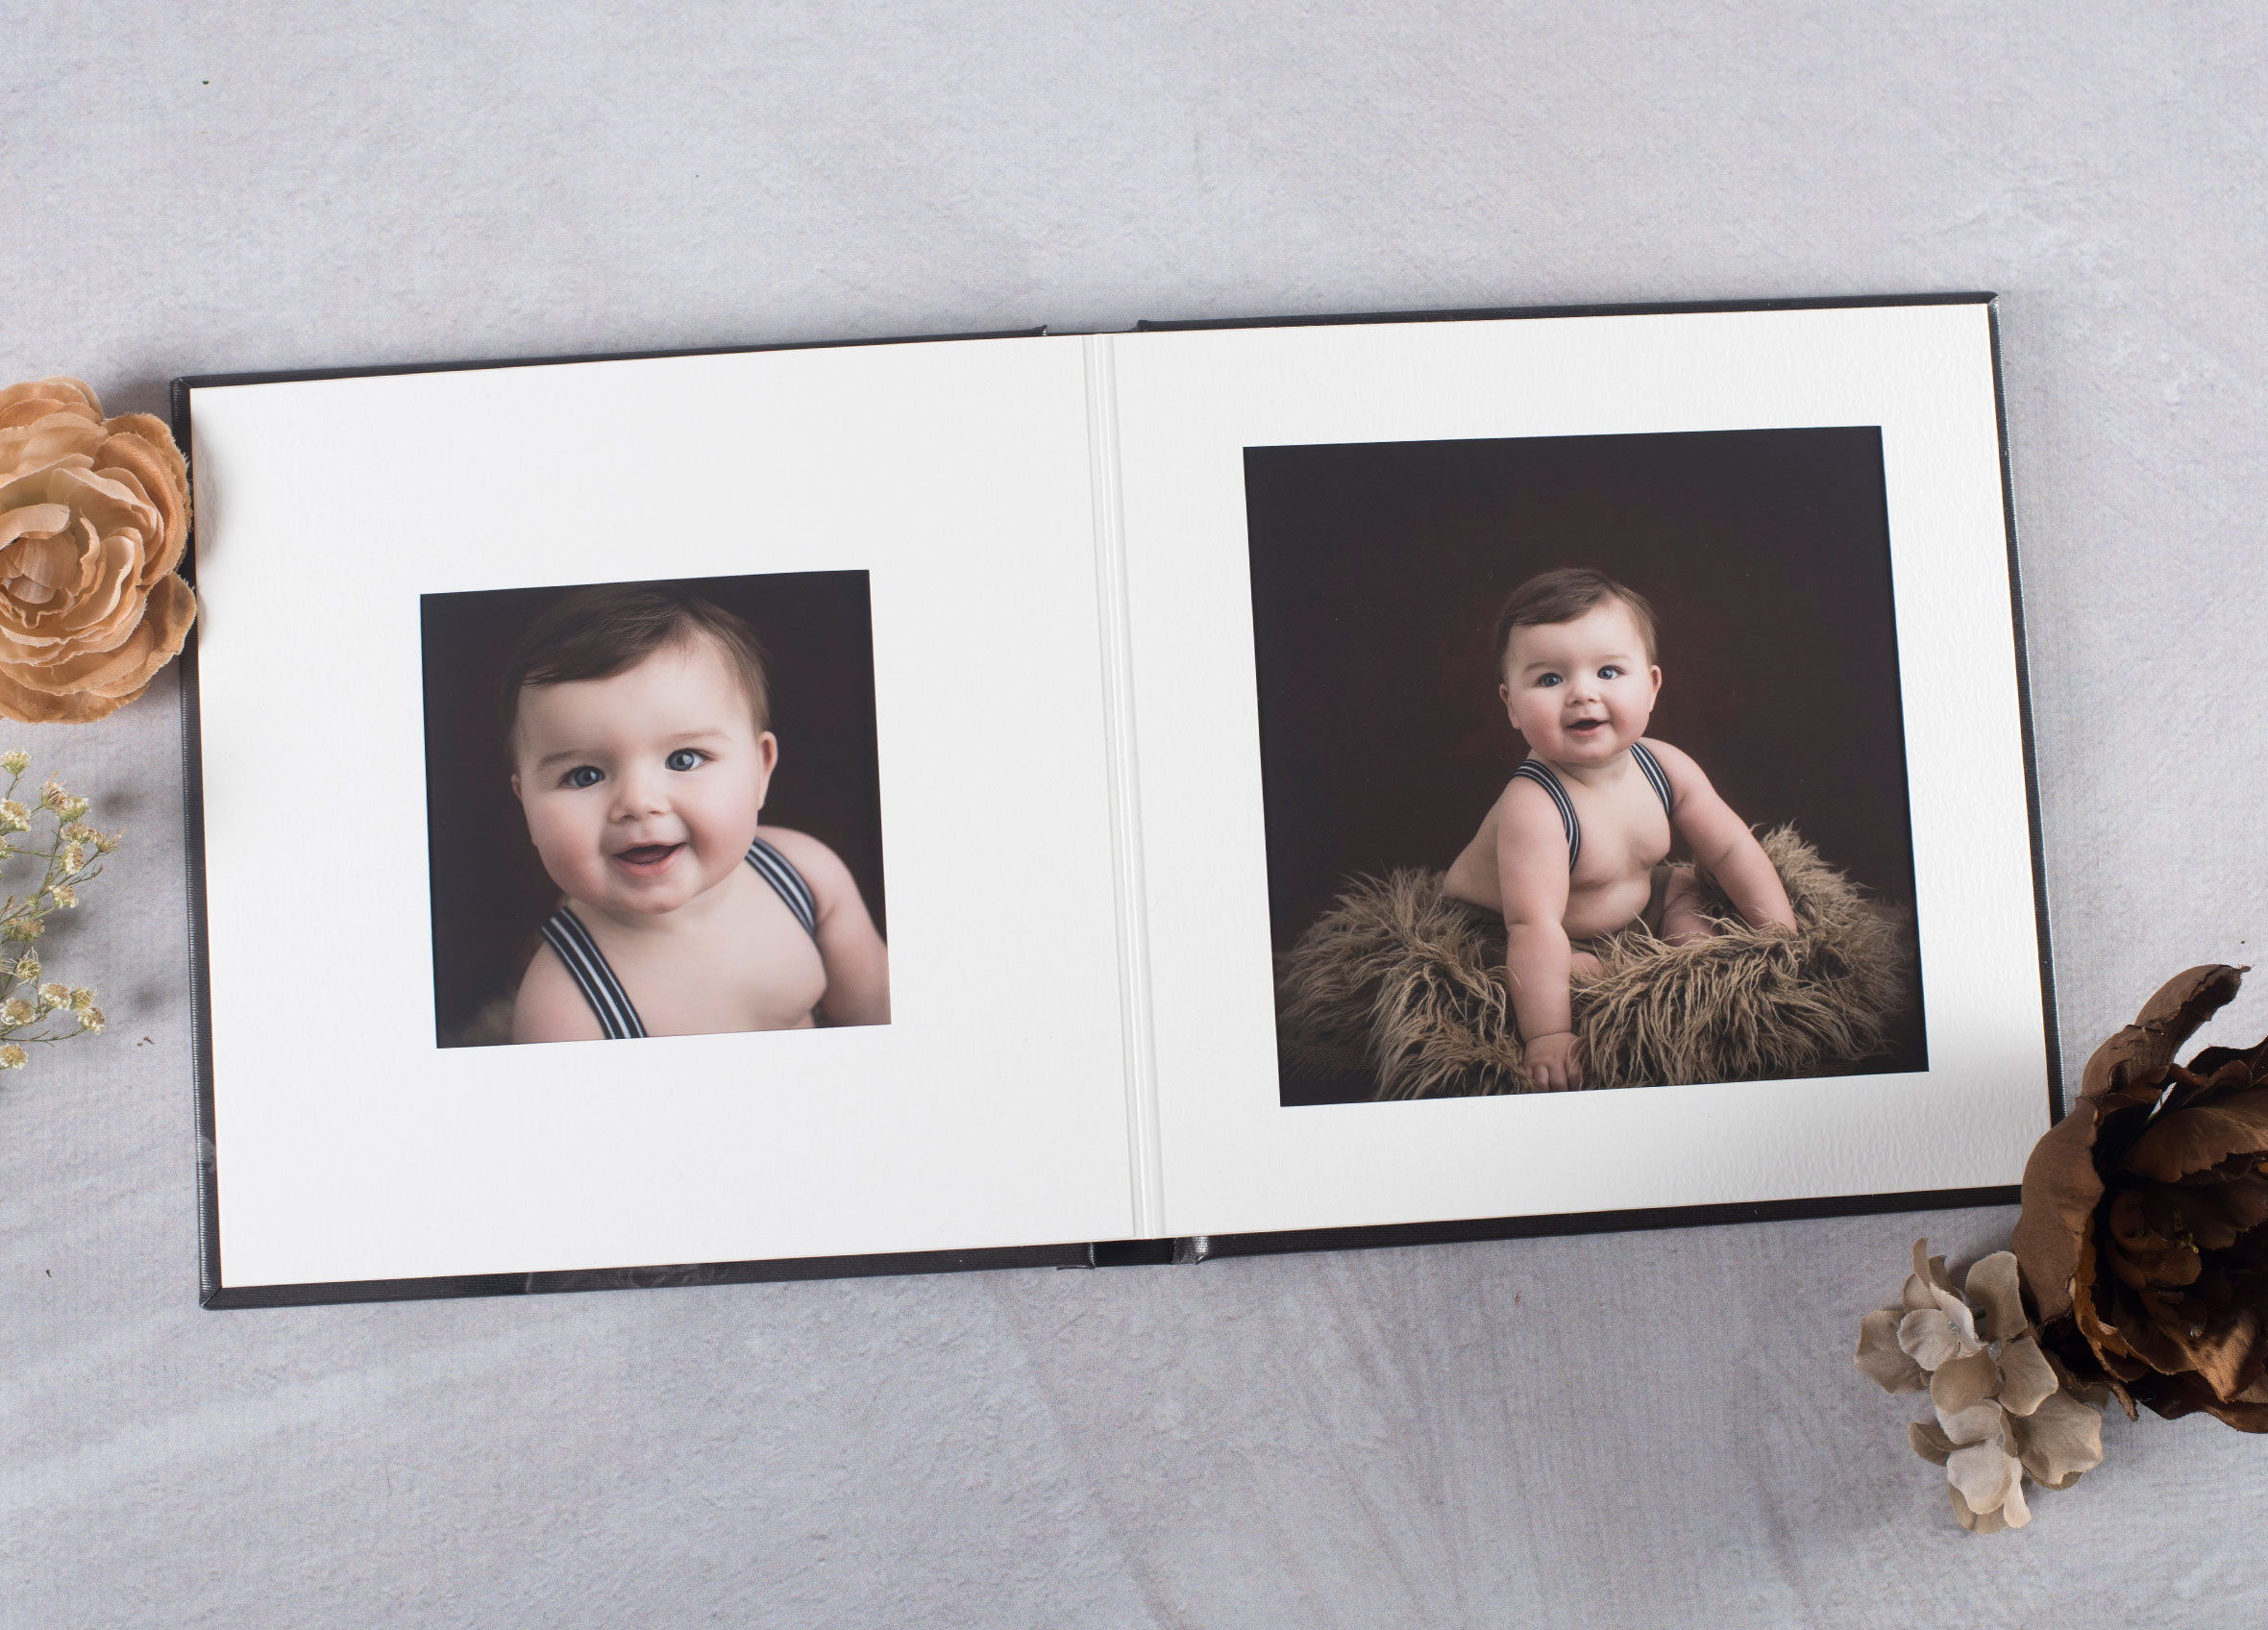
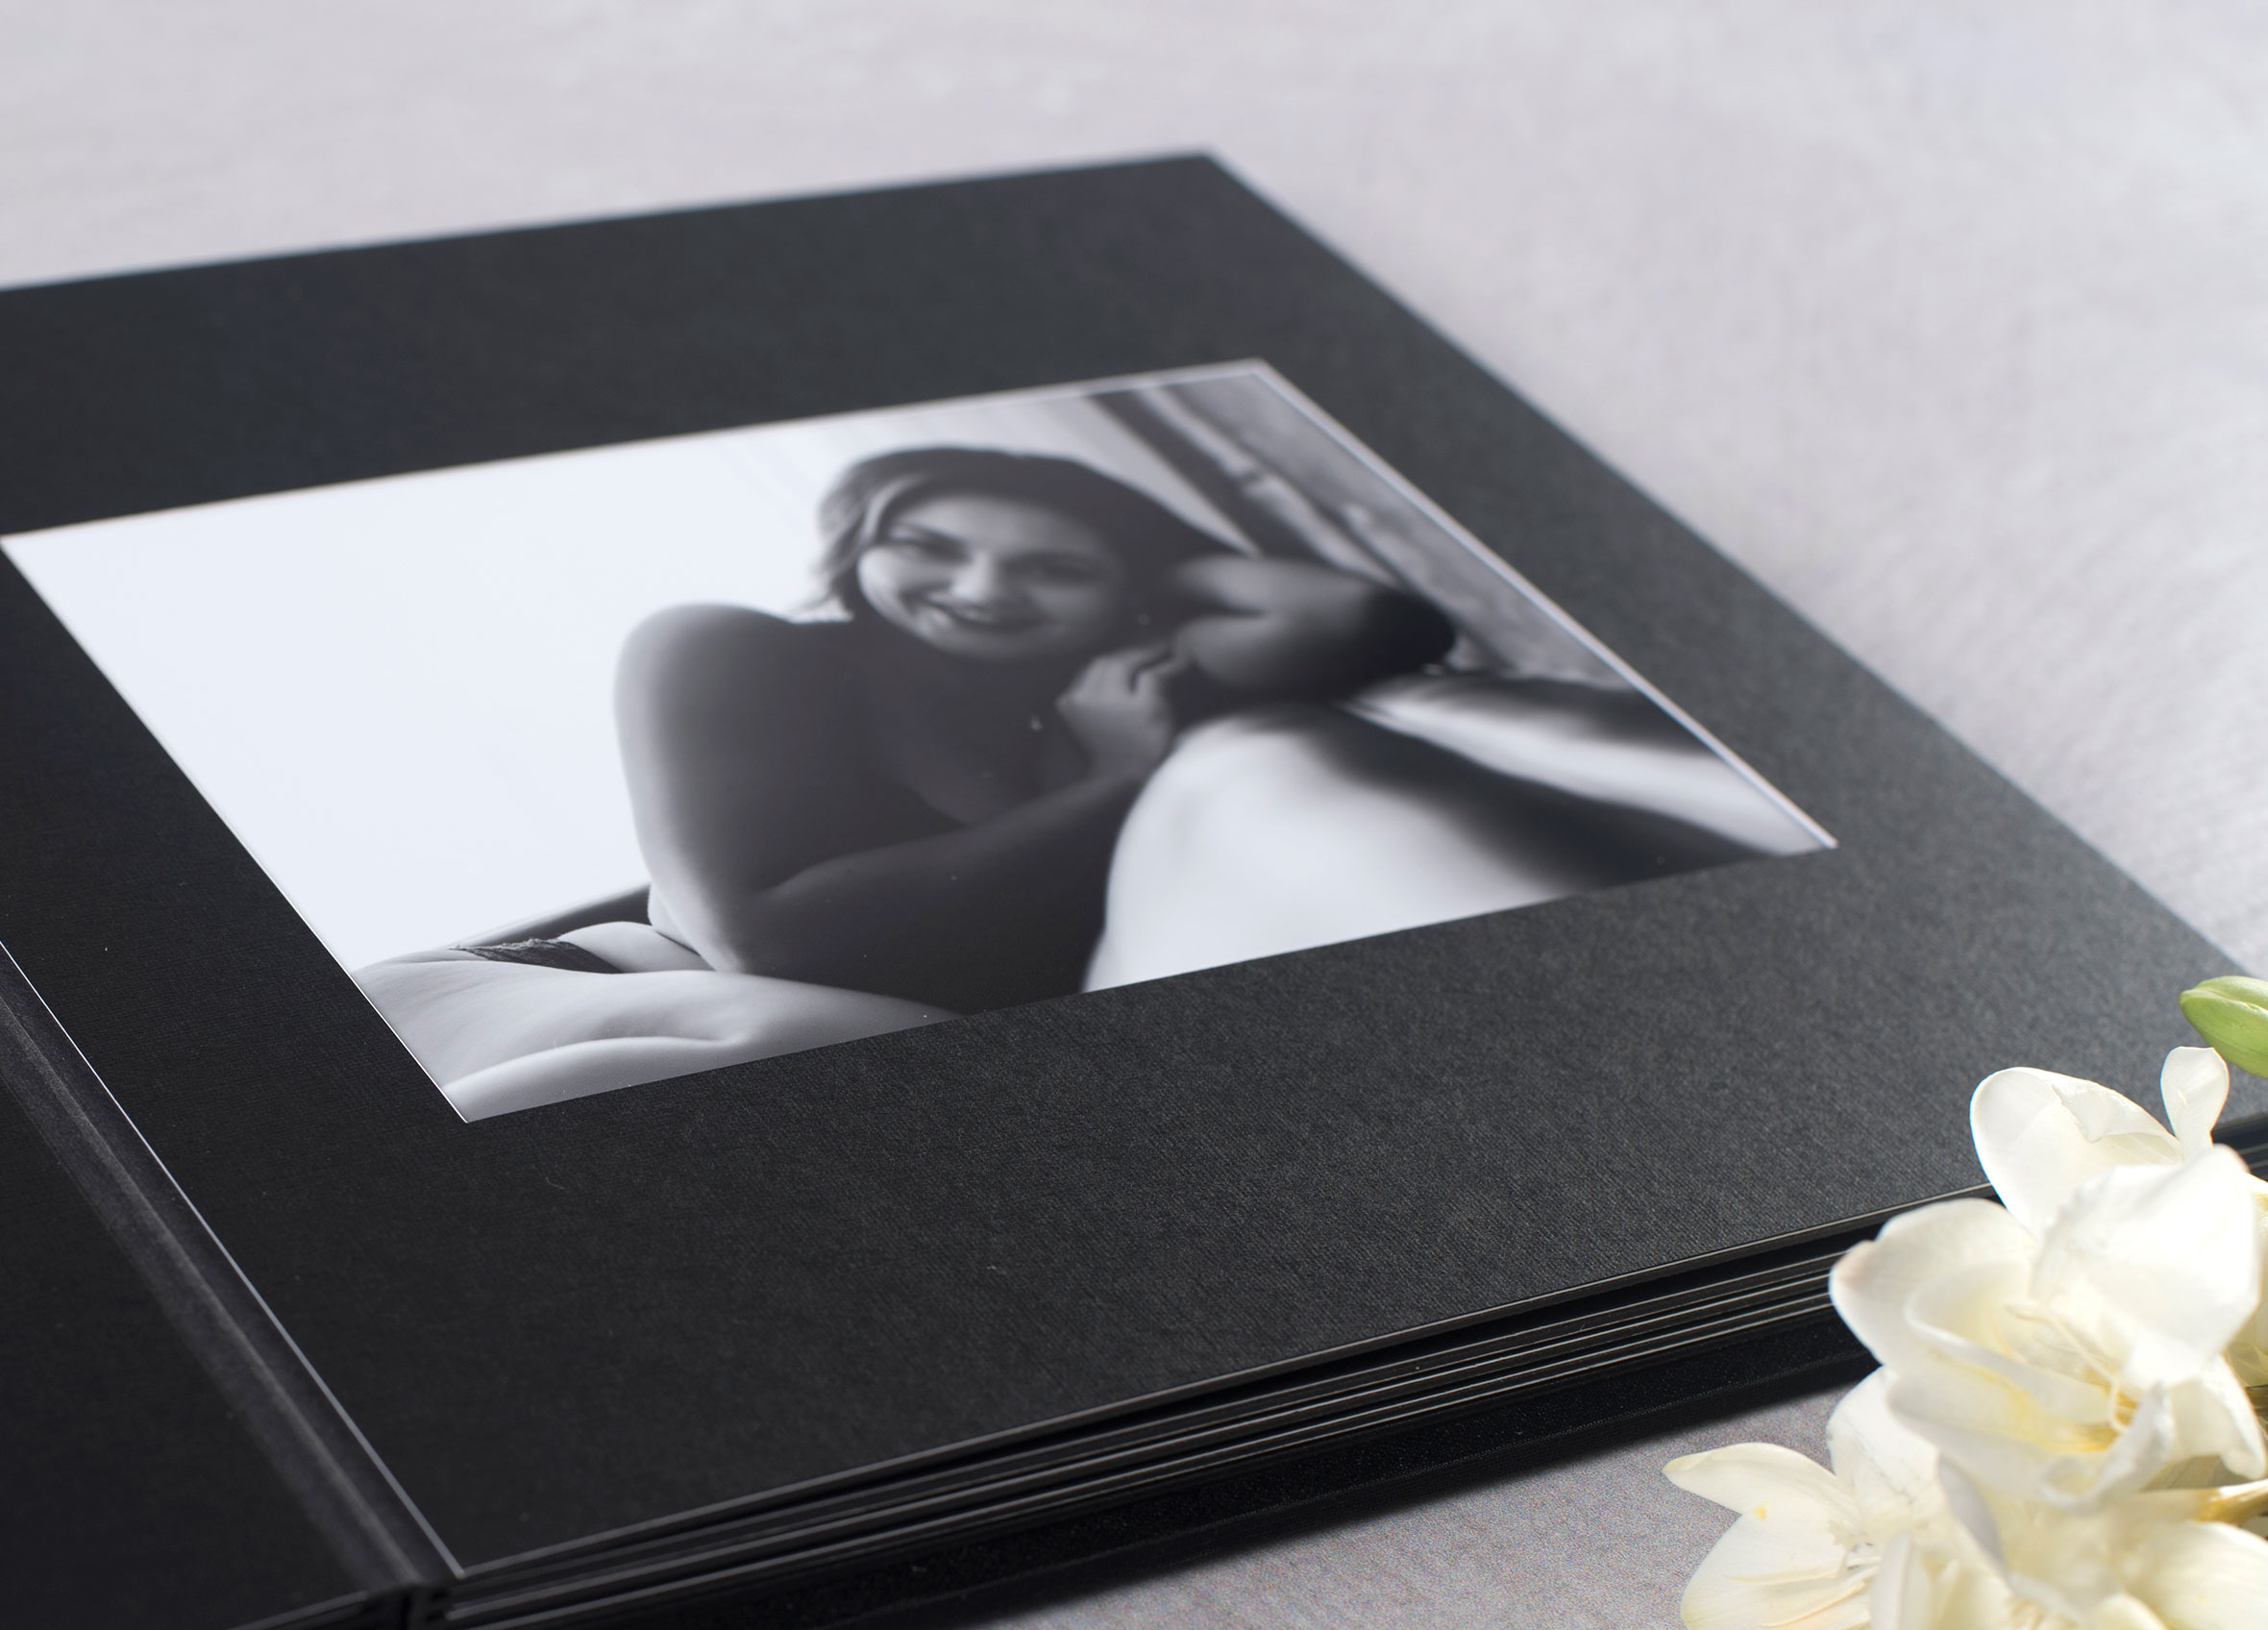
- Affordable classic matted albums
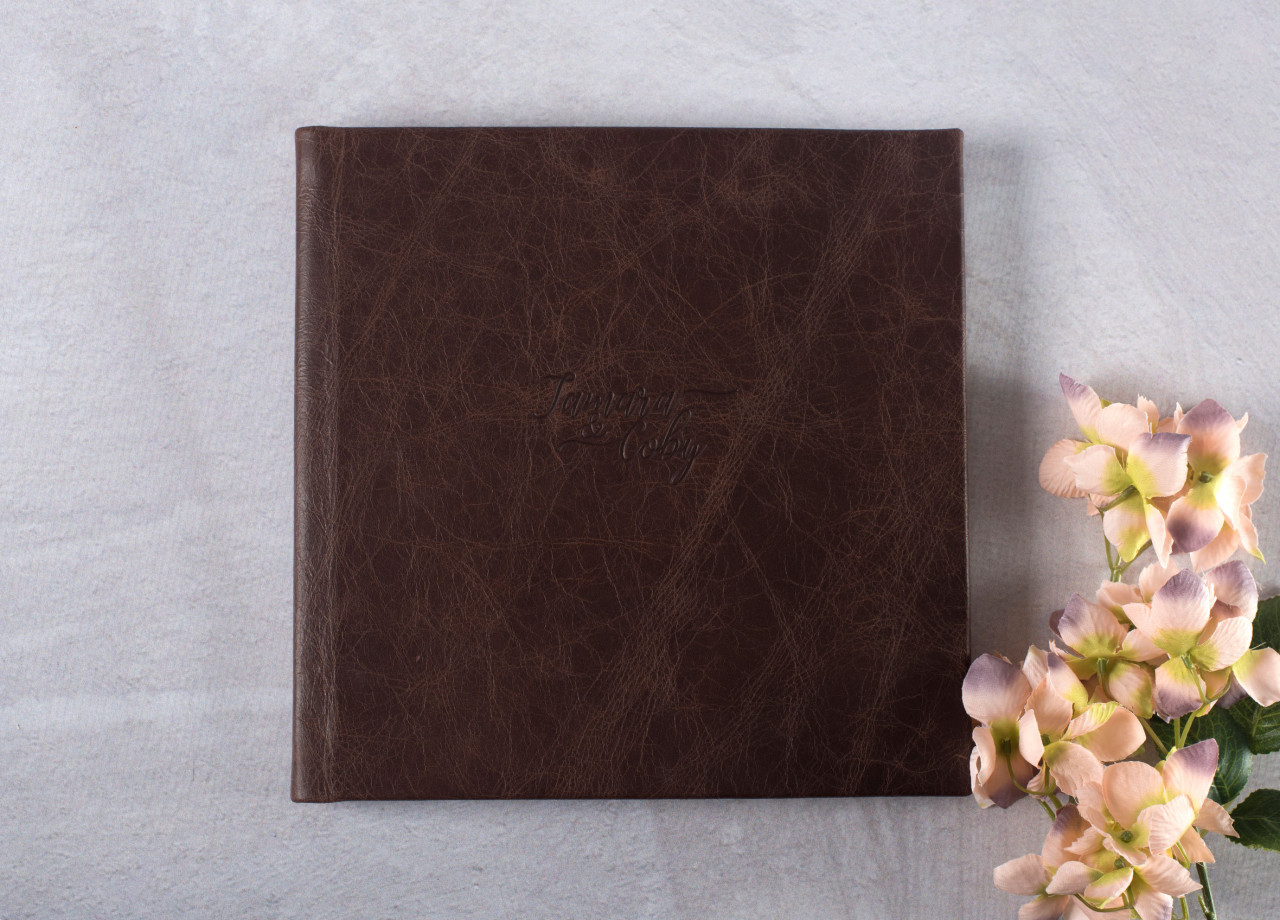
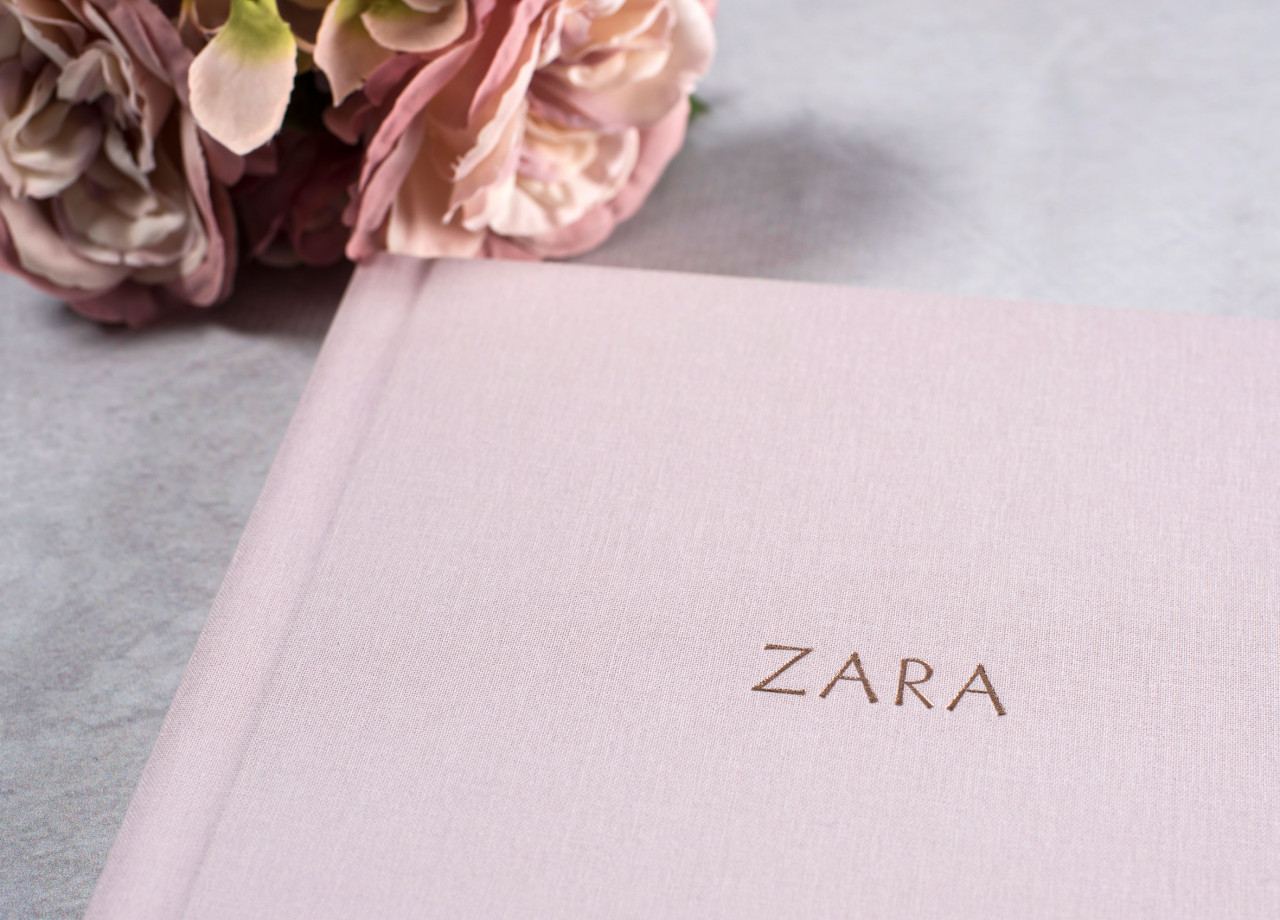
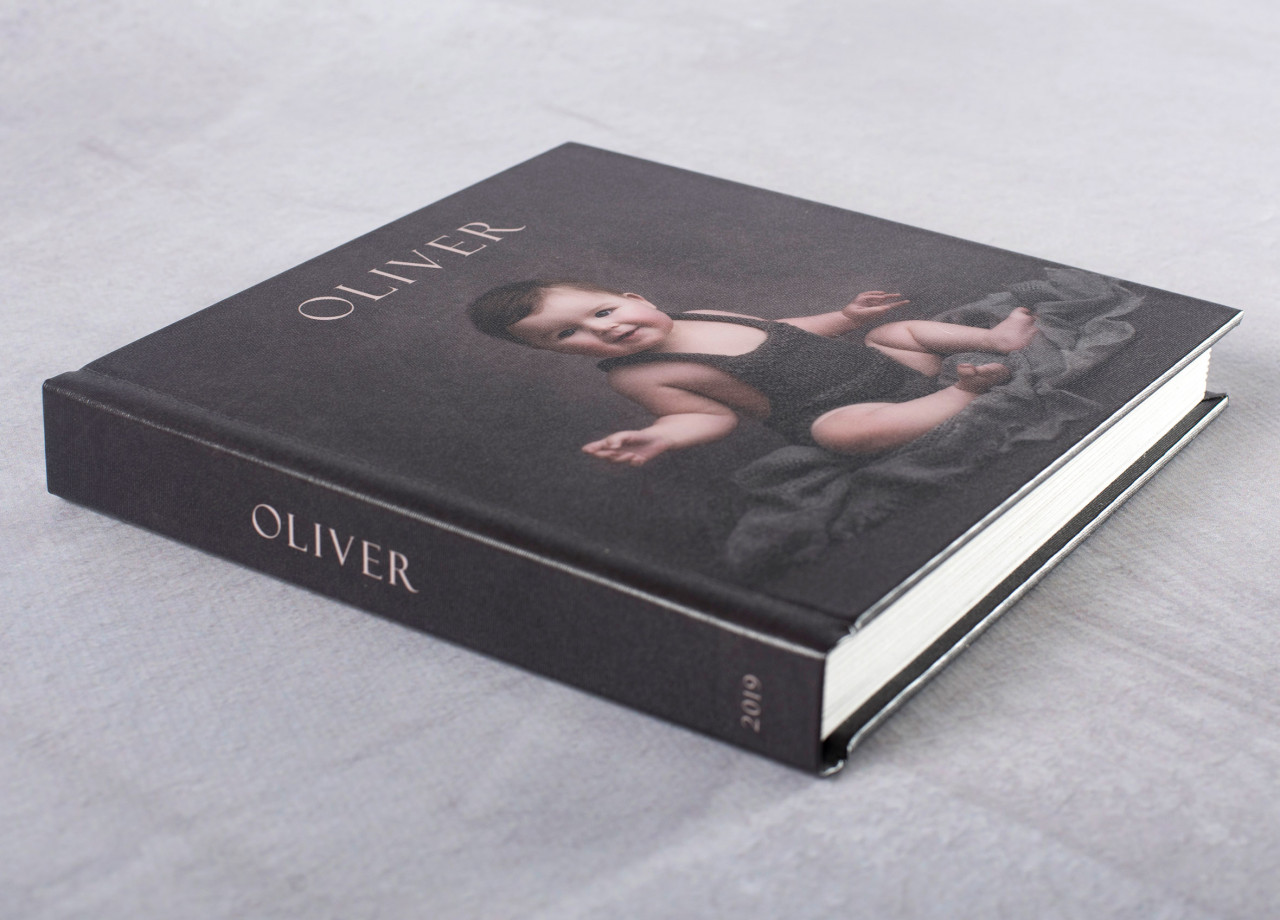
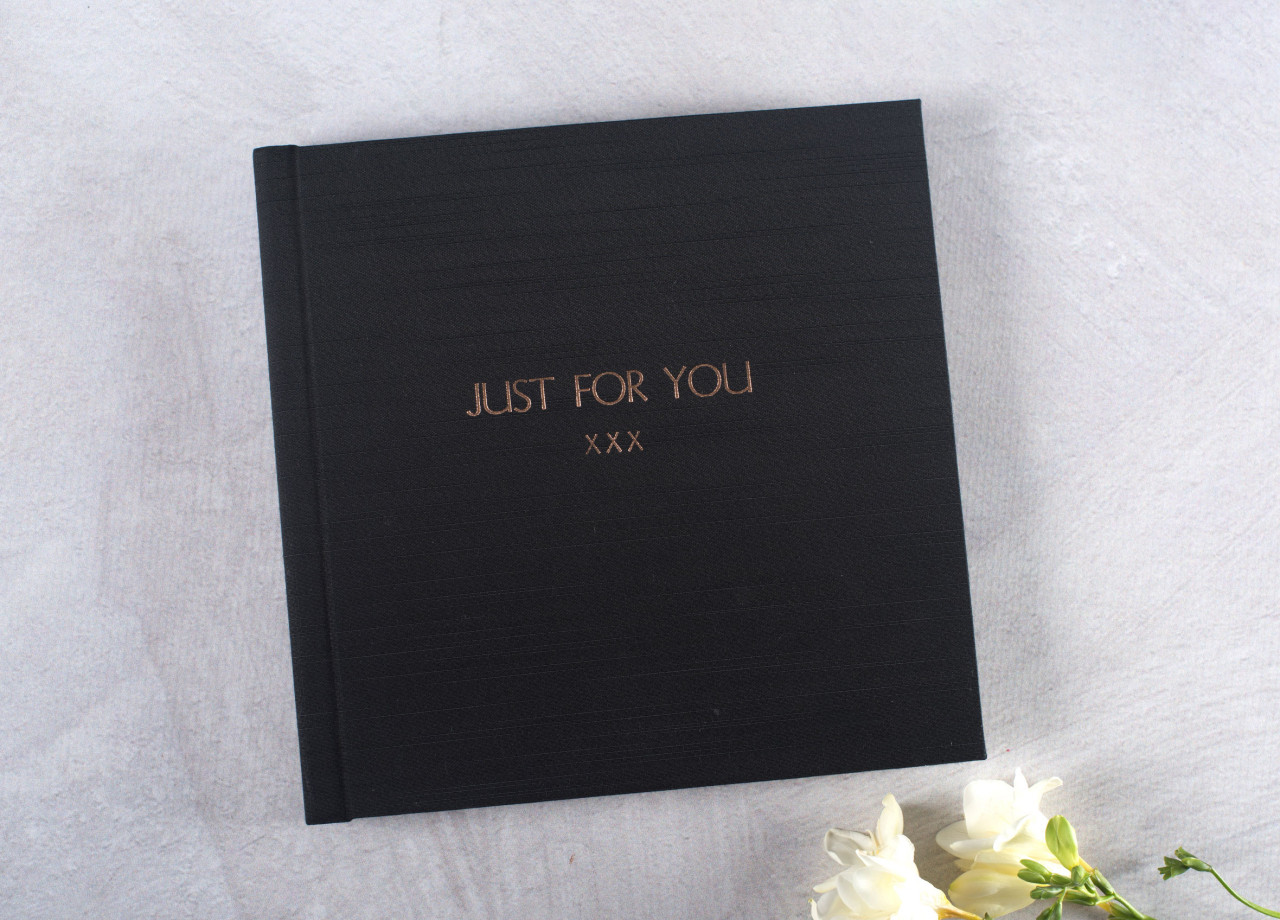
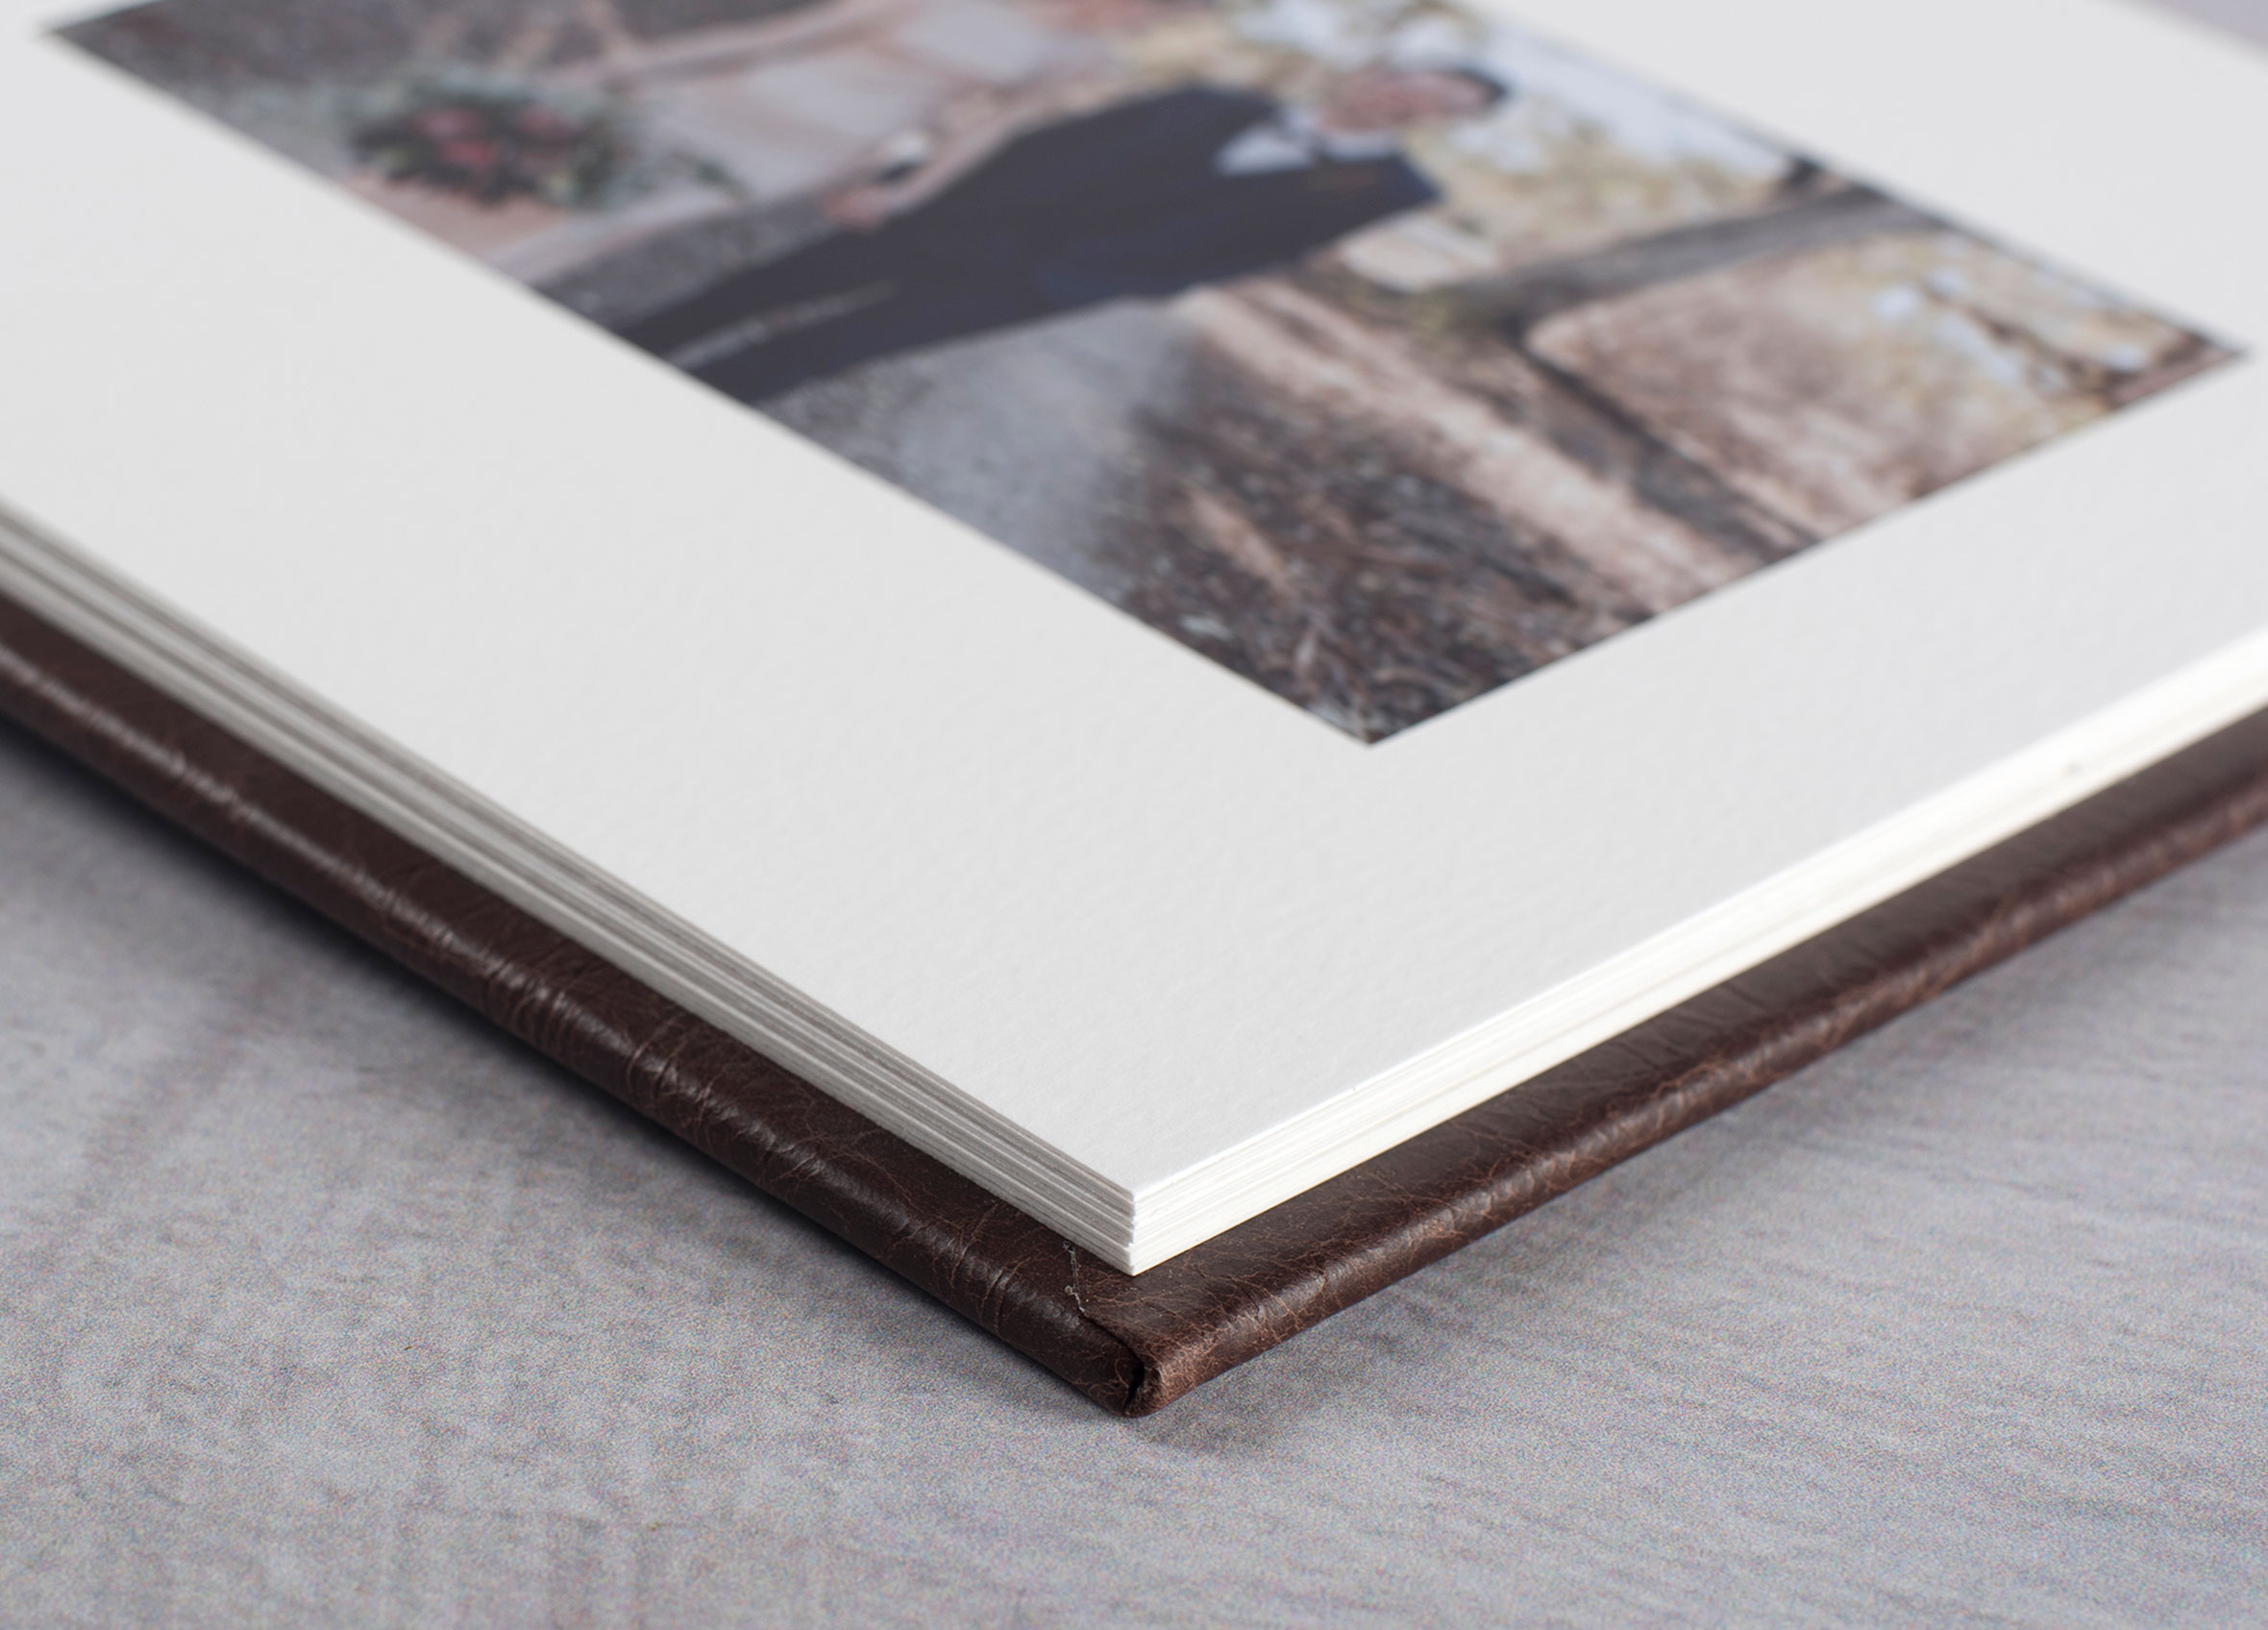
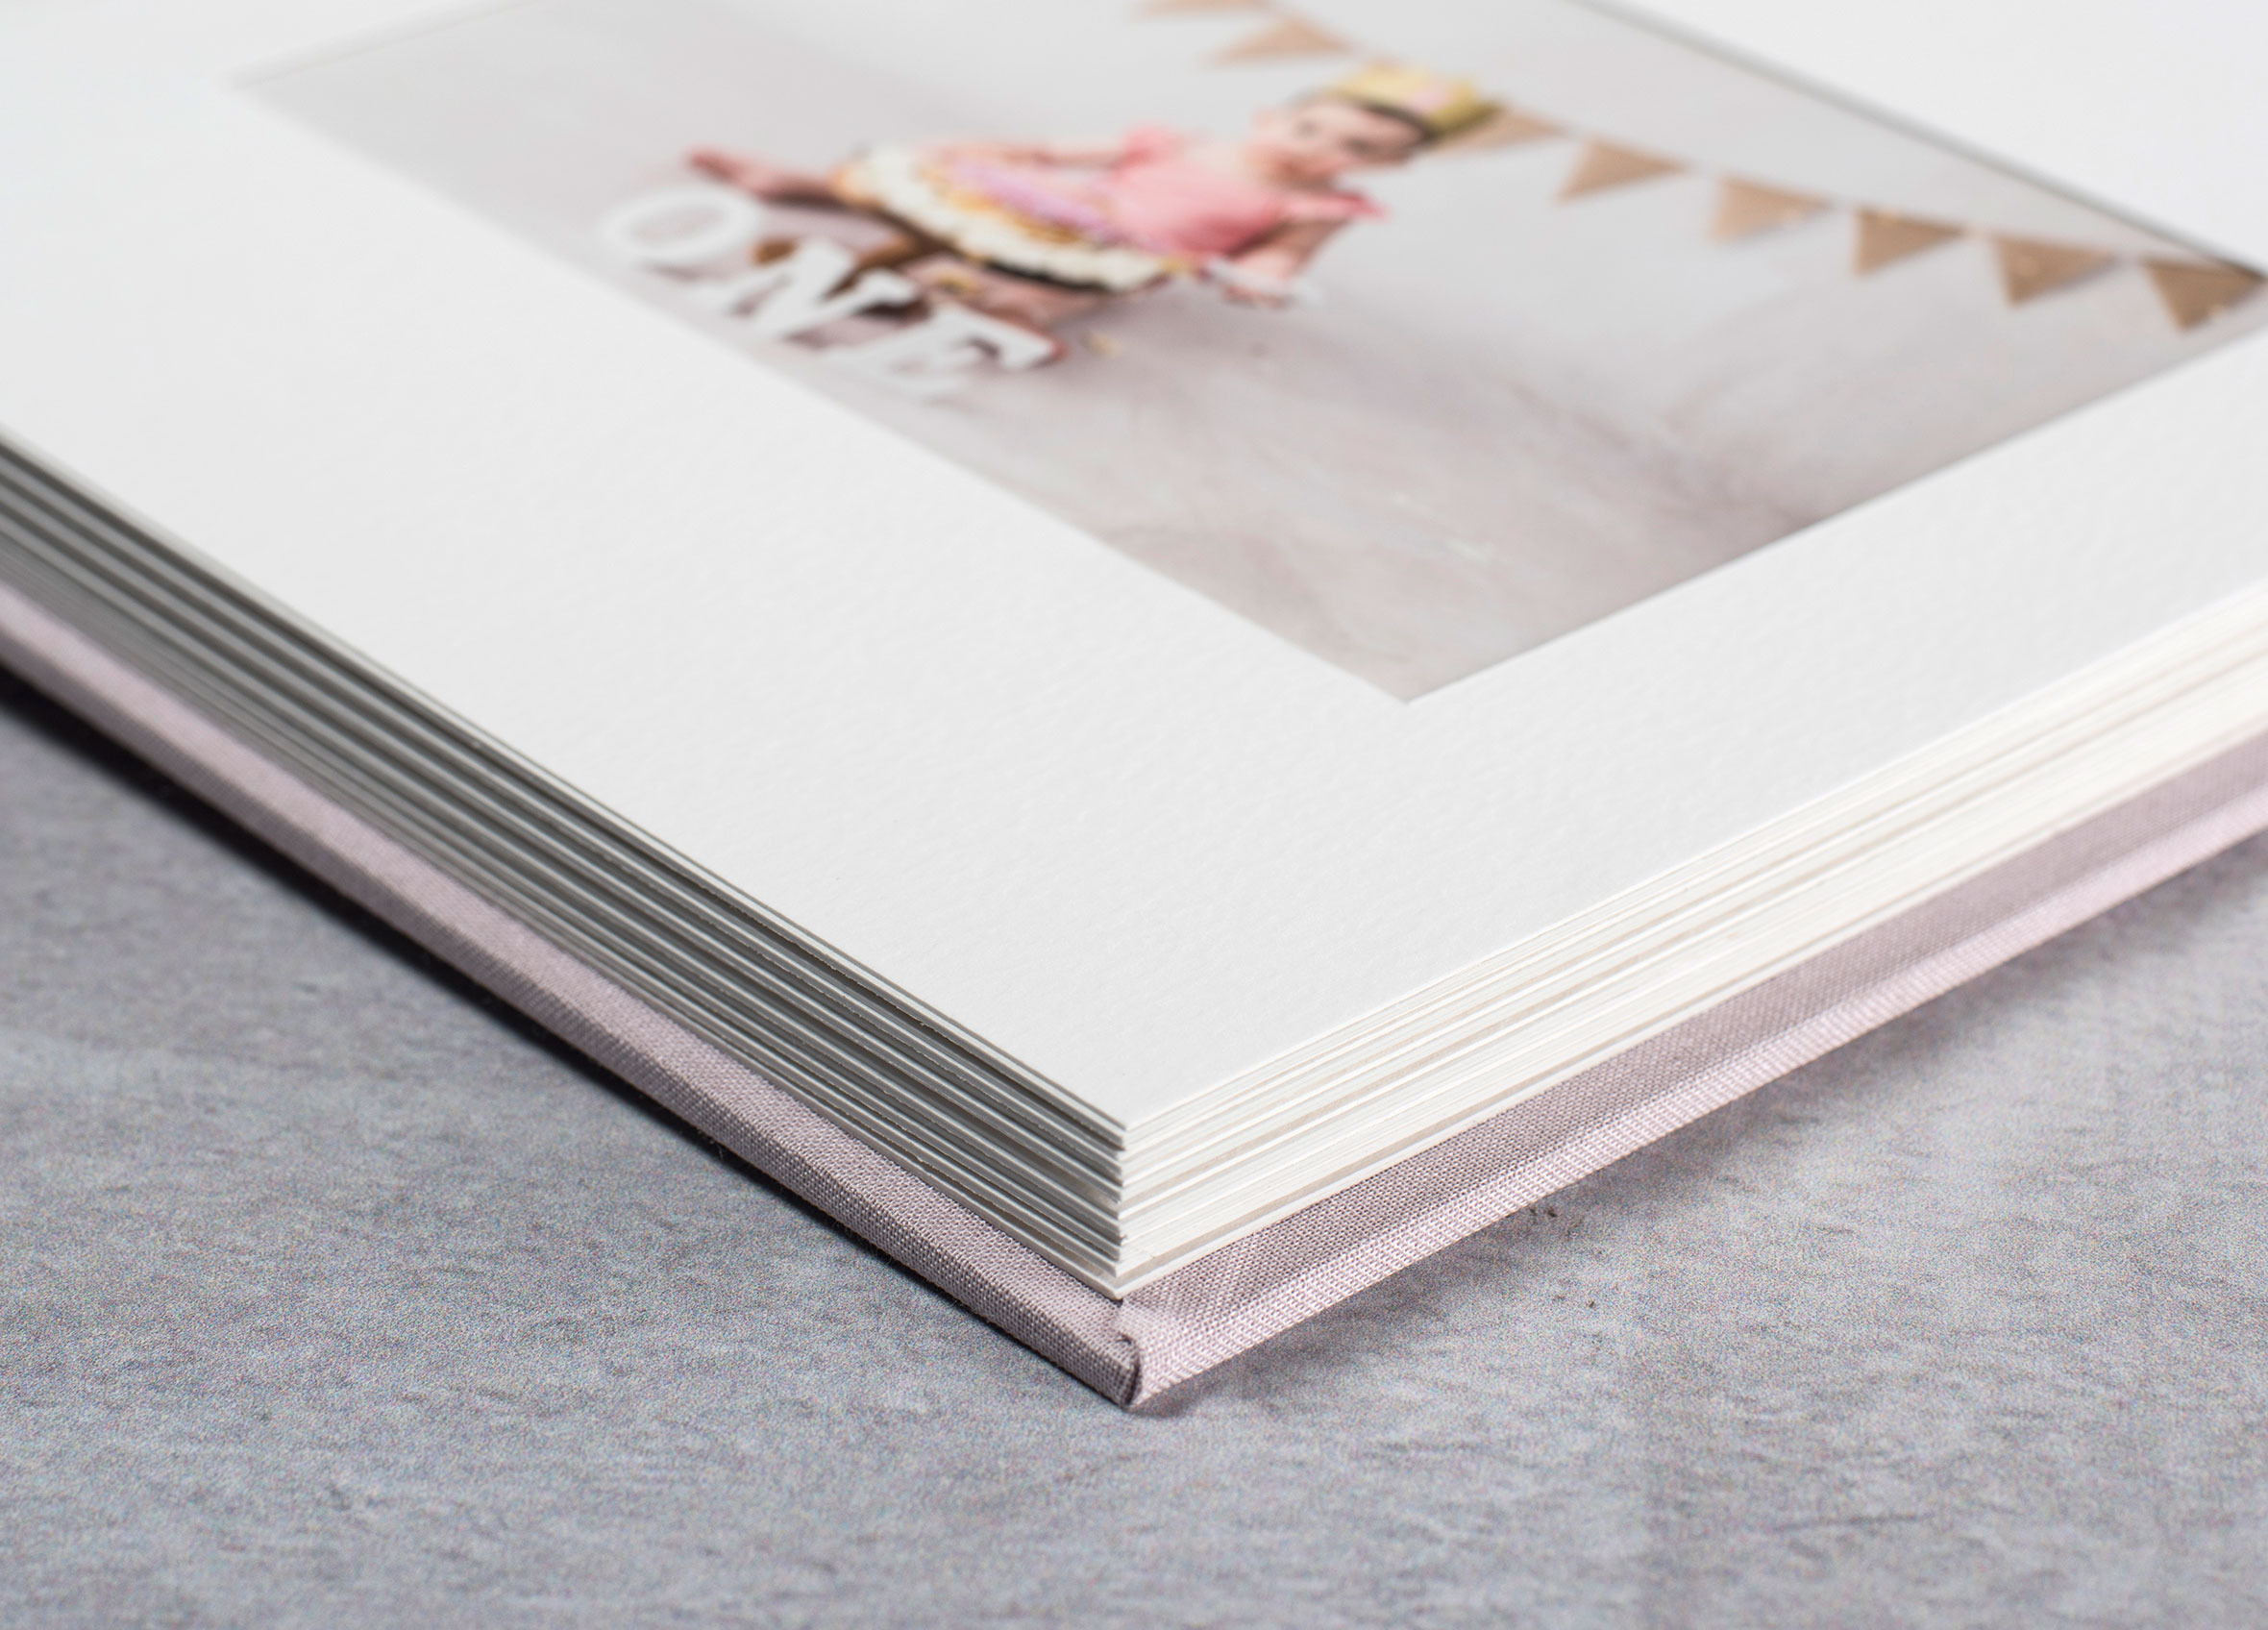
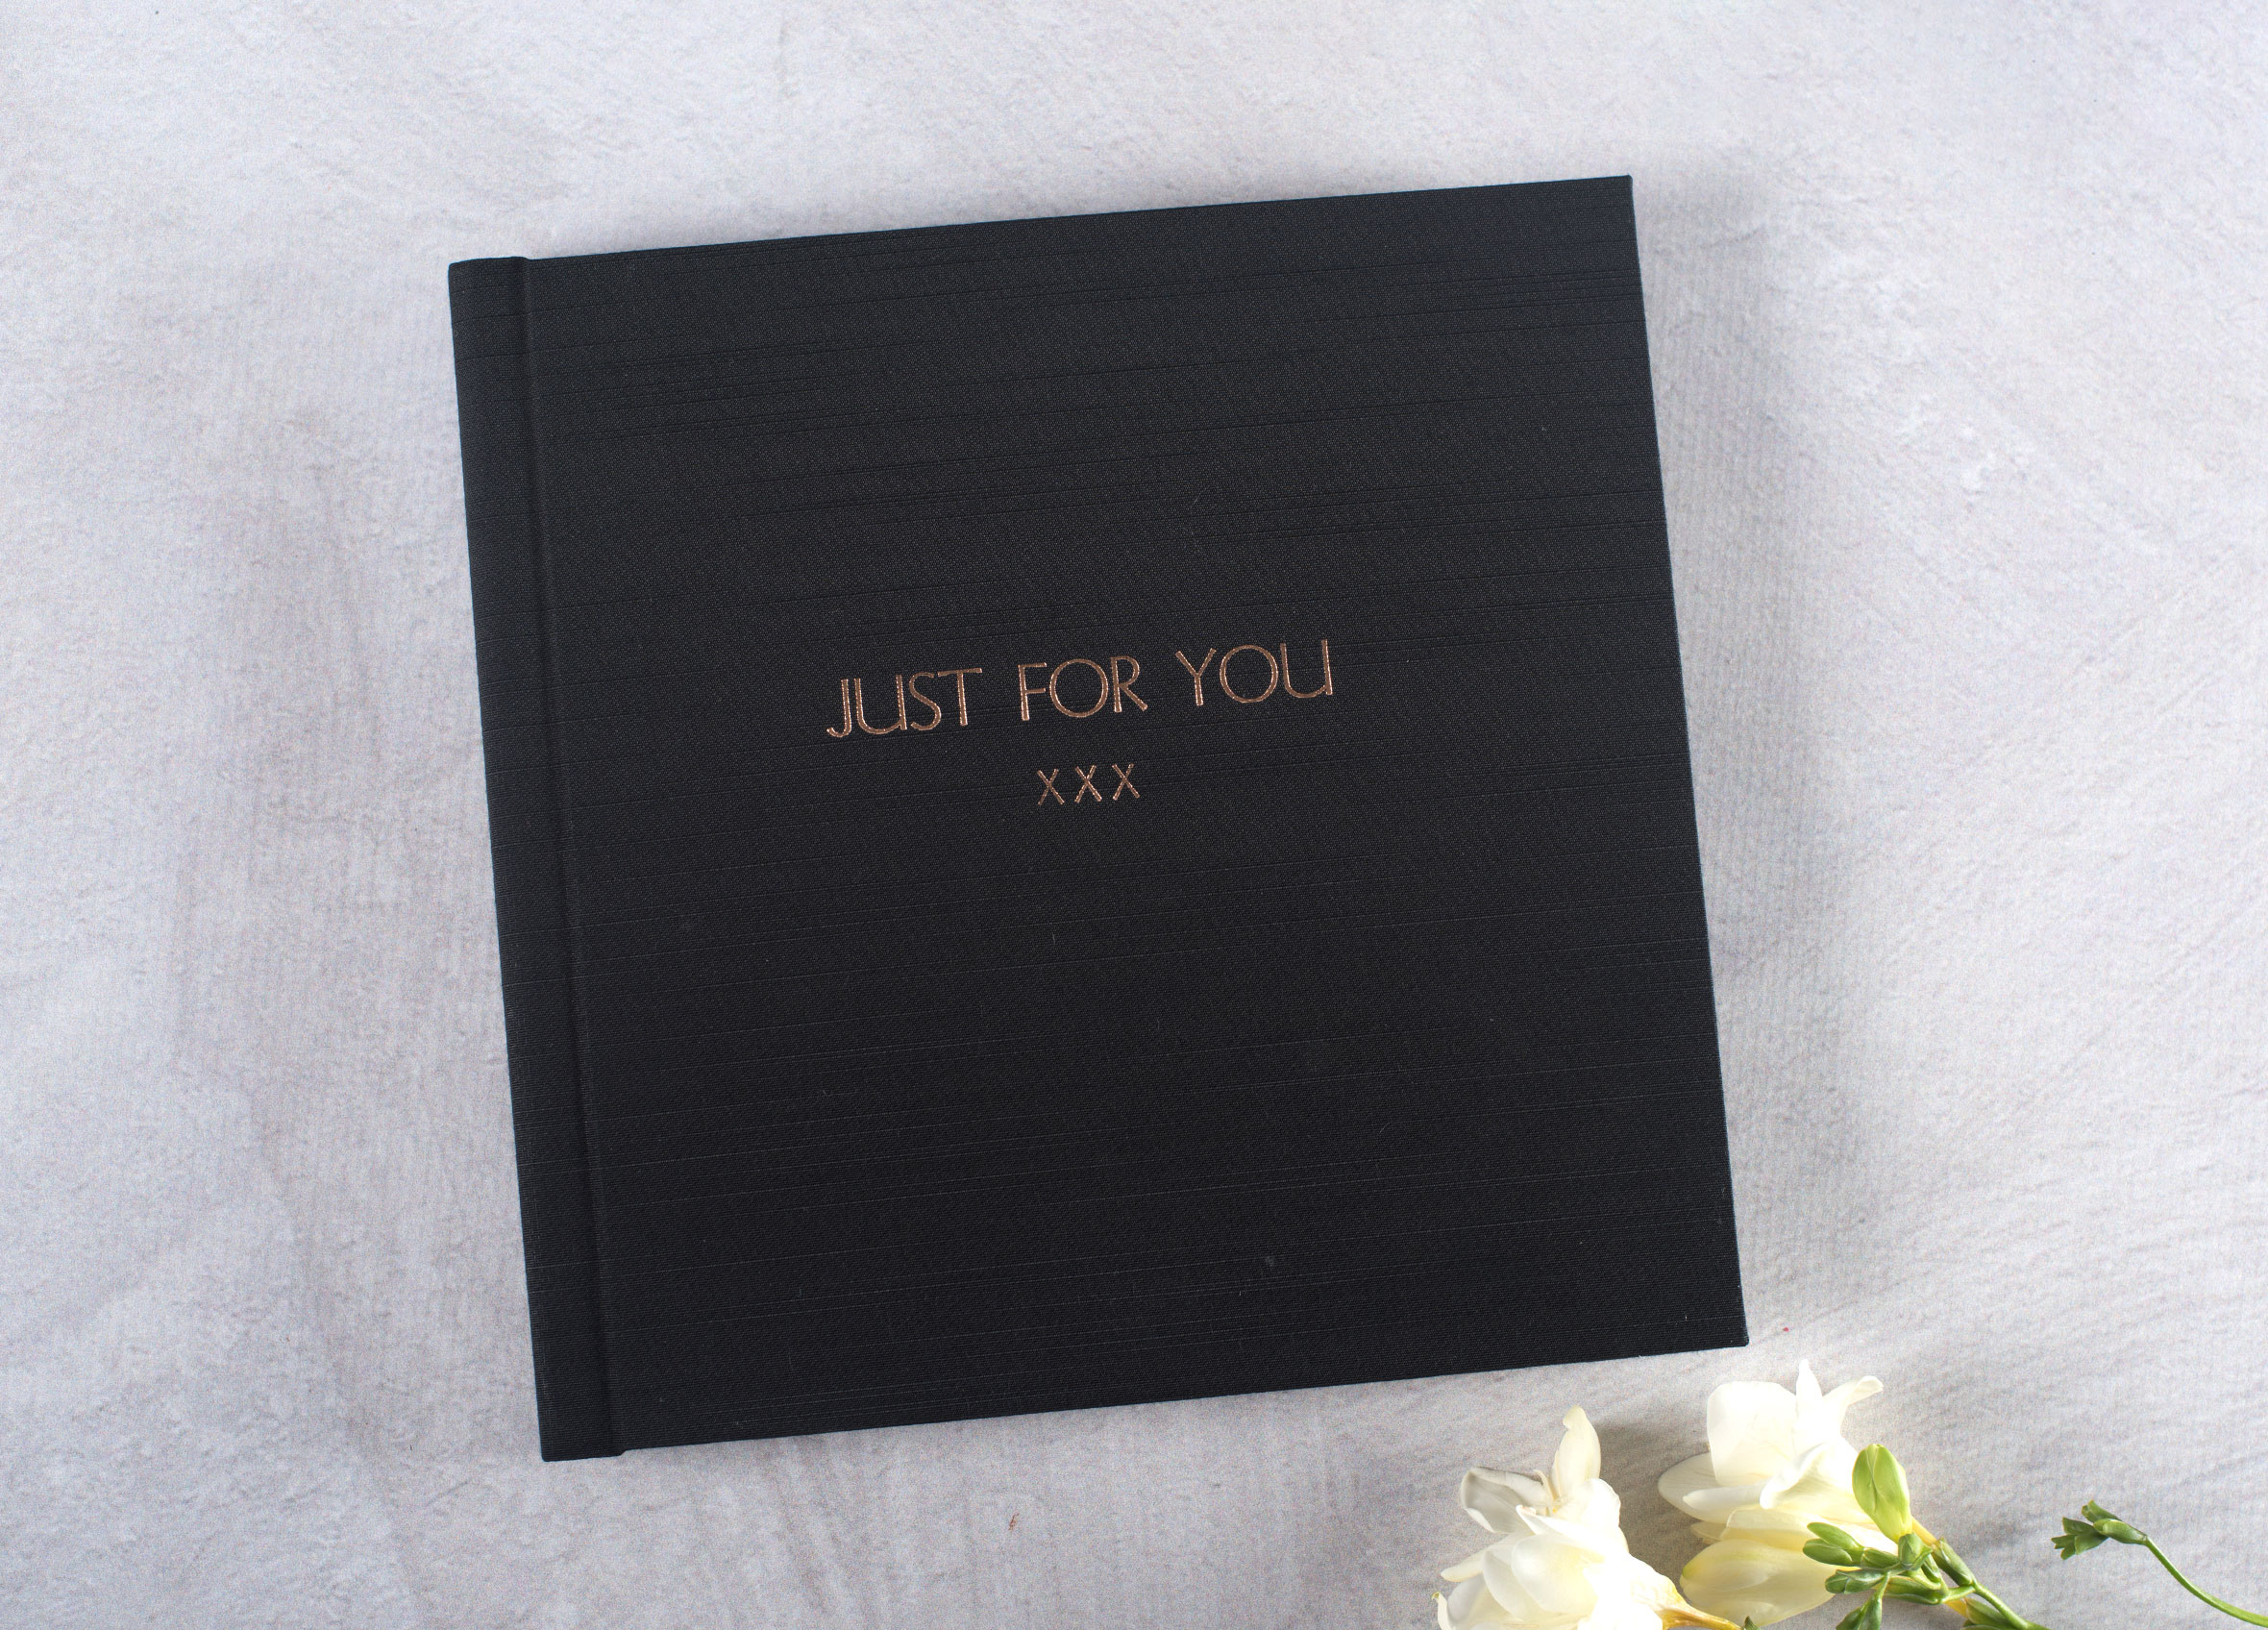
- Large range of album cover materials
- 3 different album page capacities - 10 pages, 20 pages, 30 pages
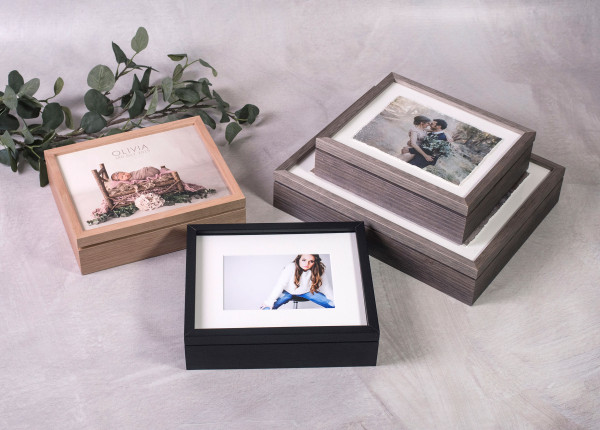
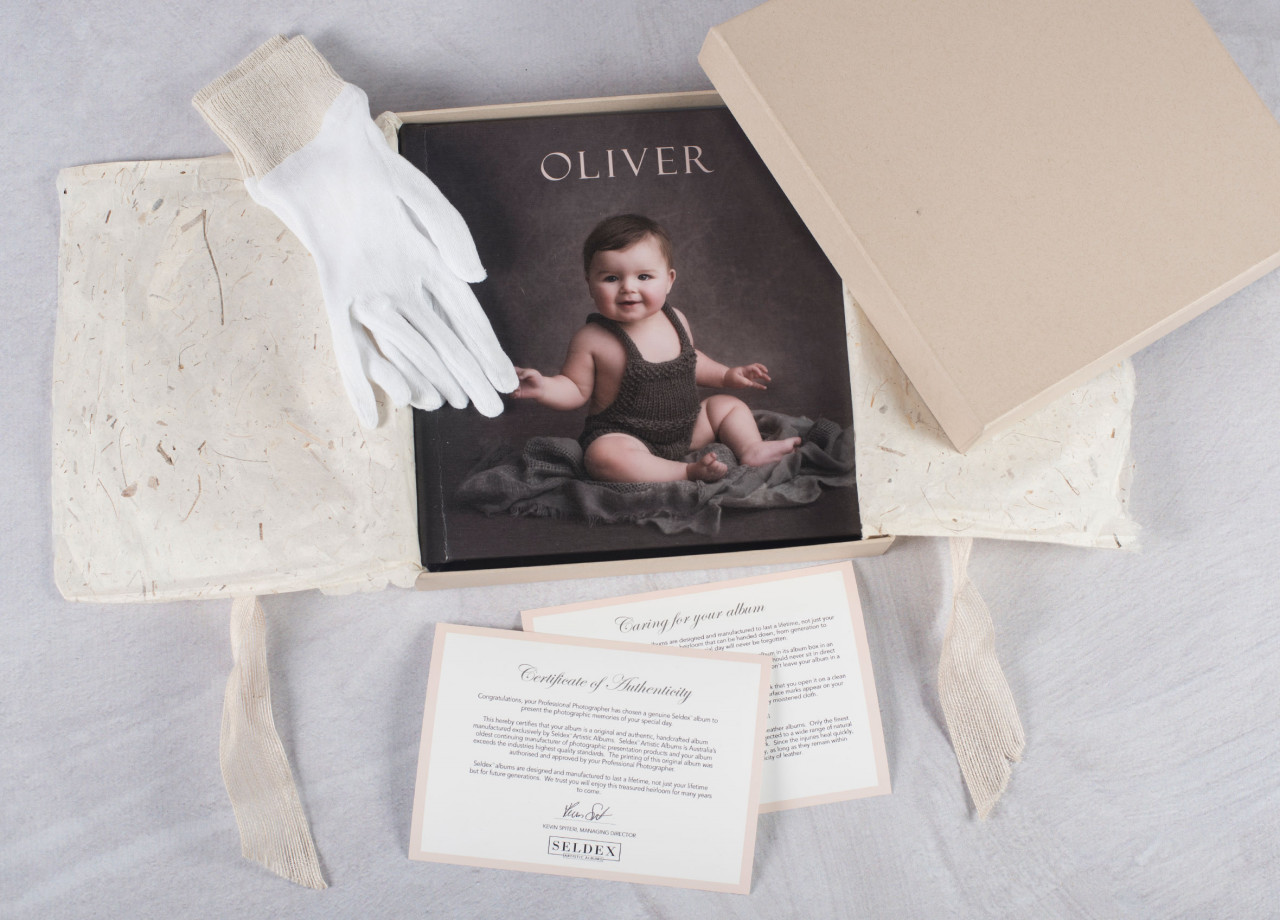
- Includes presentation box, white gloves and album care card
- Click here to order Gallery album mats
- Perfect album for parents, newborns and portraits
- Allow 10-15 business days to manufacture
Special thank you to Melissa Alagich, Michael Briggs, Howe Studios for the beautiful images featured in these albums
- Cover options
Cover materials
- Premium leather
- Classic leathers
- Image wrap - Canvas or Silk
- Velvet
- Macrosuede
- Asahi
- Linen
- Leatherette
- Buckram
Cover designs
- Plain
- Custom embossing
- Personalised embossing
Album linings
- Black
- White
- Natural Unryu
- White Unryu
- Blue Tamarind
- Pink Tamarind
- Green Tamarind
- Natural Mango
- Mat options
Page capacity
- 5 leaves / 10 pages
- 10 leaves / 20 pages
- 15 leaves / 30 pages
Mat colours
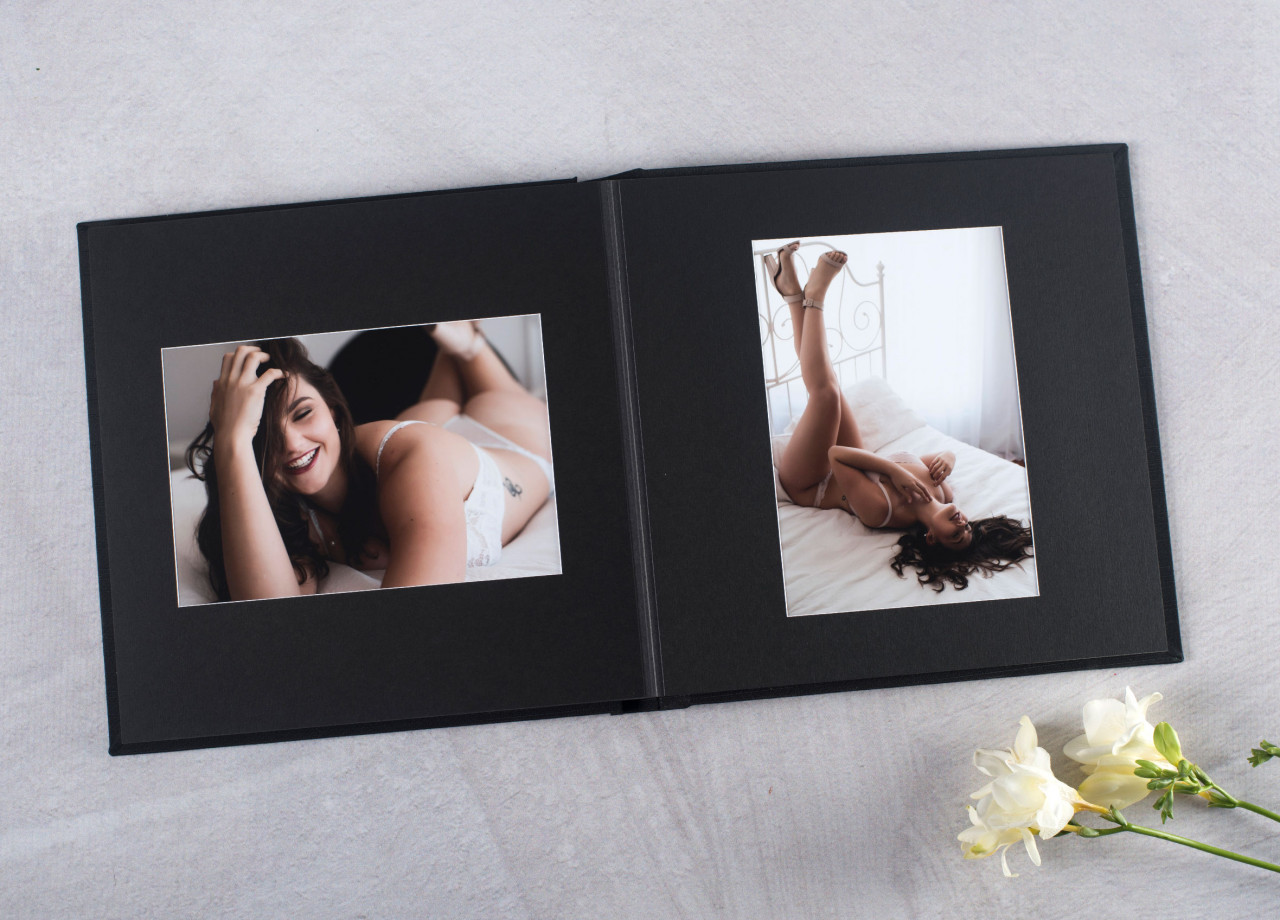
- White single
- Black single
- White bevel (white mat with black bevel)
- Black bevel (black mat with white bevel)
Mat designs
Download the list of mats available for the 12" Gallery album below -
- 12 Gallery album mat combinations
Mats can be ordered under the 12" Mat section
Packaging
- Black presentation box with black wrap
- Earth presentation box with handmade banana paper wrap
- Assembly
Gallery albums are easy to assemble yourself with your own prints, but if you prefer, we also offer a print & assembly service for an additional fee per side.
When assembling a traditional matted album the 1st mat is normally attached to the right hand side of the 1st spread (after the fly leaf). This means your album will start on the right hand side and finish on the left hand side. You can use the left hand side of the 1st spread, and the right hand side of the last spread to increase the number of mats in your album if you wish. For example - an album that has 5 leaves/10 pages - can actually hold up to 12 mats instead of 10.
Assembly only
You can choose to have us attach the mats to the base pages. Each mat will be attached to the base page in the order you have selected them when ordering online. The mats will be open at the top to allow you to slip the photo behind the mat. You can fix the photo in place by using our Photo Tabs or double sided tape.
Print and assemble
You can take it one step further by having us print and assemble your album so it arrives ready to give you to your client. It is important that your files should be colour corrected, correctly cropped and ready for printing. This is your responsibility. If you are a first time user we highly recommend you visit our File Preparation page for details on how to prepare your files.
Photo papers
- Lustre
- Matte
You must ensure you name your files as per the album page it belongs on. For example for the first page of the album the file should be called 001.jpeg, the second page 002.jpeg, the third page 003.jpeg etc. This will ensure your album is mounted in the correct order.
If you have chosen mats which have more than one photo per page then you will need to create your own version of an "omni" print. Open a blank canvas in your image editing software (for example Photoshop) at 9x9" then place your correctly sized images (i.e. 5x7 image for a 5x7 opening) in roughly their intended order for your mat choice, save your flattened jpg (make sure to name it the page side) and upload that file your order. Don't worry if the margins between the images is correct, we will trim if necessary.
Important
Your photos must be cropped correctly before being uploaded. For example if you are ordering a 7x5" horizontal print you must crop the width to 7", the height to 5", at 300dpi and save it as a JPEG file.
Please make sure to read our File Preparation information before uploading your files.
- Templates
You must use our Photoshop templates to design the image wrap cover of your Gallery album.
Download the PSD files below:
Please carefully read our Image Wrap design guide before you start designing.
DO NOT have images end exactly on the guide lines. Images must either flow over the guide lines to the edge or be set inside the guide lines with a background colour filling the remaining space. The guide lines are approximate, not exact. Please keep that in mind when designing your cover.
DO NOT leave any blank space and make sure that the spine and fold areas are flexible. Anything that appears outside of the blue fold lines will get folded over when the cover is created.
The uploaded cover image should be a 300 dpi JPEG.
- File upload
You will need to upload your print files to these specifications -
File format: JPEG
Colour space: ADOBE RGB (1998) or sRGB
Pixels per inch: 300dpiWe DO NOT check customer files for accuracy. Your files should be colour corrected, correctly cropped and ready for printing. This is your responsibility. If you are a first time user we highly recommend you visit our File Preparation page for details on how to prepare your files.
If you haven't printed with us before then we highly recommend you order free test prints from us. Click here to order them today!
Disclaimer
Aspect ratio must correspond to specified print size otherwise your print will come back the incorrect size. Seldex will not be responsible for incorrectly cropped/sized files or prints resulting from this.